
Crafting with memories turns overlooked digital photos into objects you can hold, arrange, caption, and share. These tutorials guide you through retro photo strips, celebration banners, albums, wall displays, and handmade keepsakes while paying close attention to faded color, balanced grain, clean borders, and paper that suits the mood.

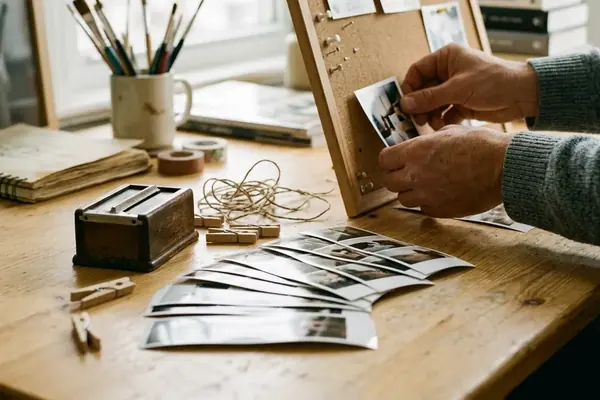
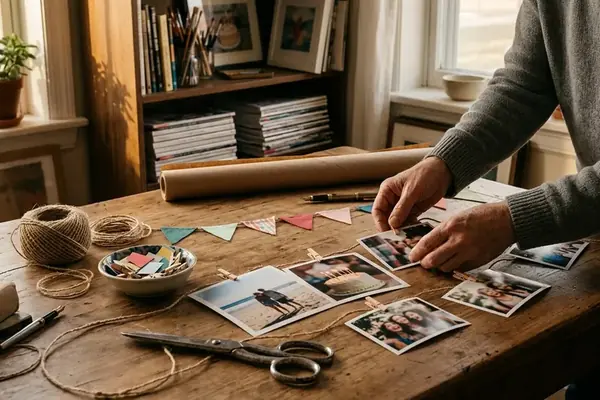
A convincing retro print begins before the scissors and glue come out. Choose photographs with a clear subject, crop them to the final border shape, and brighten them slightly for paper, since a glowing screen can disguise dark faces and blocked shadows. Apply grain and fading with restraint; skin, handwriting, and small details should remain easy to read. Print one test image before committing the full set, then check border spacing, color, sharpness, drying time, and trimming marks under ordinary room light.
From there, let the photographs shape the craft. A loose timeline works well for an album, repeated colors can tie together a garland, and short handwritten captions give wedding displays or gifts a personal rhythm. Keep decorative distressing away from important faces, use adhesive suited to the chosen paper, and store meaningful pieces away from moisture and sustained direct light. Ask permission before displaying photographs of other people at public celebrations. The smallest finished project can still tell a complete story: four carefully chosen digital files become one tactile four-frame photo strip.