Defining the Authentic Photobooth Format
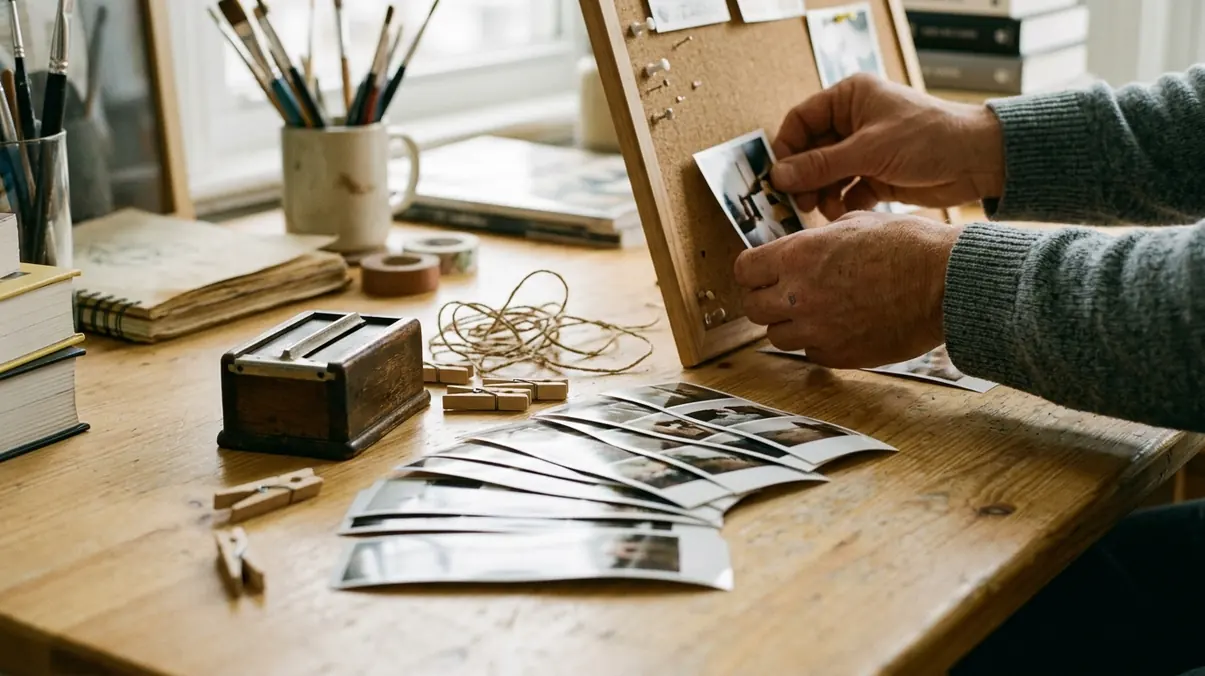
A retro photo strip is a vertical sequence of four images printed on premium, heavyweight archival paper, designed to replicate the authentic output of a vintage mechanical photobooth. There is something undeniably magical about holding a physical photograph in your hands. Modern digital convenience meets nostalgic analog charm here, and a fleeting smartphone snap becomes something you can pin to a wall. The most effective ways to display these prints rely on three criteria—minimal wall damage, aesthetic cohesion with the room, and the ability to easily swap photos as memories grow.
Premium quality prints are essential for decor. Flimsy paper will curl and fade when exposed to ambient room lighting. Heavyweight, photo-grade stock stays flatter than lightweight paper. A compatible archival paper-and-ink system reduces the yellowing and color shifts associated with inexpensive prints under ambient room light. A typical decor layout uses strips approximately 2 inches wide by 6 inches tall, although the finished dimensions should be measured before frames, tape, or spacing templates are purchased.
Wall Template Planning Spend 20 to 40 minutes arranging paper templates on the wall before attaching the actual prints. This reveals uneven spacing without repeatedly handling the photographs.
Five Installation Methods for Vertical Prints
These five methods were selected based on visual impact and ease of installation. The sequence moves from a measured wall grid and clipped light string to enclosed framing, a frequently updated magnetic mosaic, and a large event installation, so the scale grows as the list goes on.
1. The Minimalist Grid Gallery
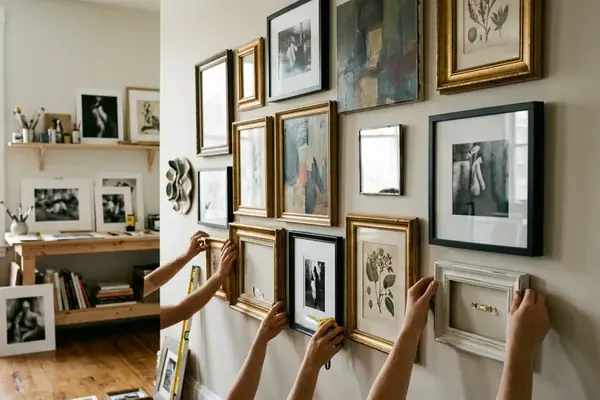
A level and double-sided archival tape are all it takes to build a precise, geometric grid of strips on a blank living room wall. Mark a level baseline in pencil. Dry-position the strips and apply small pieces of double-sided archival tape near the upper and lower edges. A nine-strip, three-by-three grid can usually be measured and mounted in 30 to 60 minutes.
2. The Fairy Light Memory String
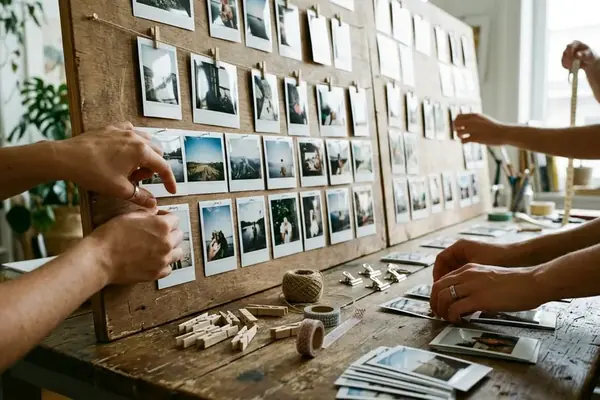
Miniature wooden clothespins attach the strips to copper-wire string lights, giving a bedroom that warm, nostalgic glow. Use low-heat LED lights on thin copper wire. Space the clothespins 4 to 6 inches apart. Mounting 12 to 20 strips normally takes 20 to 40 minutes once the light strand is secured.
3. The Transparent Floating Display
Clean both panes before arranging the strips. Leave consistent transparent margins around the photographs. Assembly generally takes 15 to 25 minutes, excluding wall mounting.
4. The Magnetic Appliance Mosaic
Use coated, low-profile neodymium magnets rather than placing bare metal directly against the print or appliance finish. A group of 8 to 15 strips can be rearranged in 5 to 10 minutes after each new photoshoot.
5. The Suspended Event Backdrop
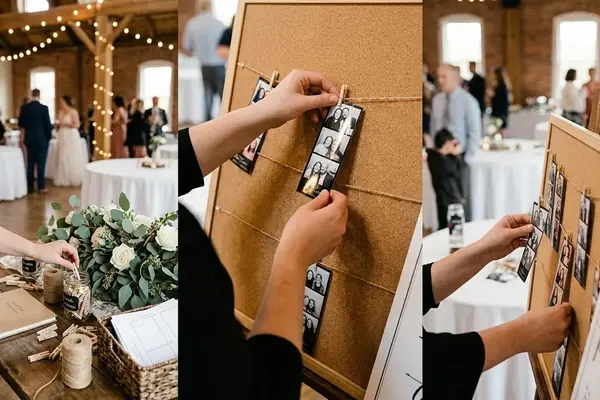
For a large installation, 200 strips can be divided into 20 vertical runs of 10. Suspend them from a wooden dowel at roughly 2.5-inch centers, requiring a dowel approximately 50 inches wide. With two people, clipping, spacing, and hanging the runs typically takes two to four hours.
Sourcing Materials for Permanent Exhibition
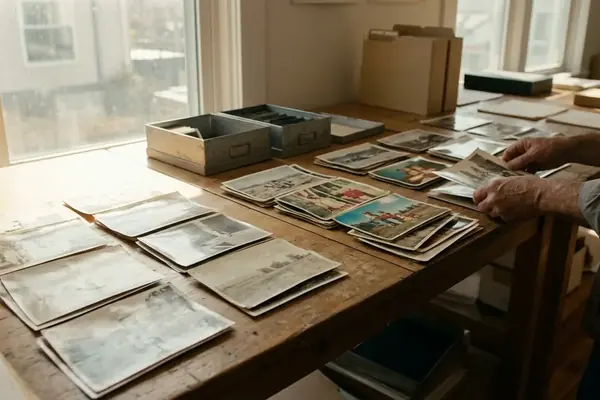
Print quality matters more once photos become permanent room decor. Print selection starts with the intended exposure rather than appearance alone. Professional photographers and stylists pair acid-free, lignin-free archival paper with a compatible ink system. They then check color through a calibrated print workflow. The display location is chosen last so direct window light does not undermine the material investment.
Paper described as archival should be acid-free and lignin-free. Compatibility testing such as a photographic activity test is more meaningful than the marketing term by itself. Heavy stock improves rigidity. Color accuracy depends on the combination of printer, ink, paper coating, and the correct color profile rather than paper thickness alone. Retro strips are frequently used in professional photoshoots, and the physical medium must match the quality of the captured memory.
Direct ultraviolet exposure from a nearby window is a major avoidable cause of fading. Place permanent displays outside direct sun and use UV-filtering glazing when a bright location cannot be changed.
Routine Condition Checks Inspect displayed strips for edge curl, yellowing, or uneven fading every 3 to 6 months. A review of one room generally takes 5 to 10 minutes.
Project: Assembling a Floating Glass Frame
The frame project begins with cleaning because dust trapped between two panes cannot be removed after the clips are secured. The three strips are then measured and centered on the front pane before the back pane is lowered vertically, minimizing the chance that the final alignment shifts.

- Gather materials. You need an 11-by-14-inch floating glass frame, three retro photo strips, a clean microfiber cloth, and a ruler. Allow 25 to 45 minutes for cleaning, layout, assembly, and hanging.
- Clean both sides of both panes thoroughly to remove fingerprints and dust. Inspect them under angled light for lint before beginning the layout.
- Position the strips. If each strip measures 2 by 6 inches, place the frame in portrait orientation. Leave exactly 1.5 inches between adjacent strips. The three strips and two gaps occupy 9 inches of the 11-inch width, leaving 1-inch side margins when centered. Center 6-inch-tall strips within the 14-inch frame height to create approximately 4 inches of clear glass above and below the images.
- Lower the back pane straight down. Secure every frame clip and check the gaps again before lifting the frame. Hang it in a hallway or entryway with indirect natural light rather than in the path of direct window sun.