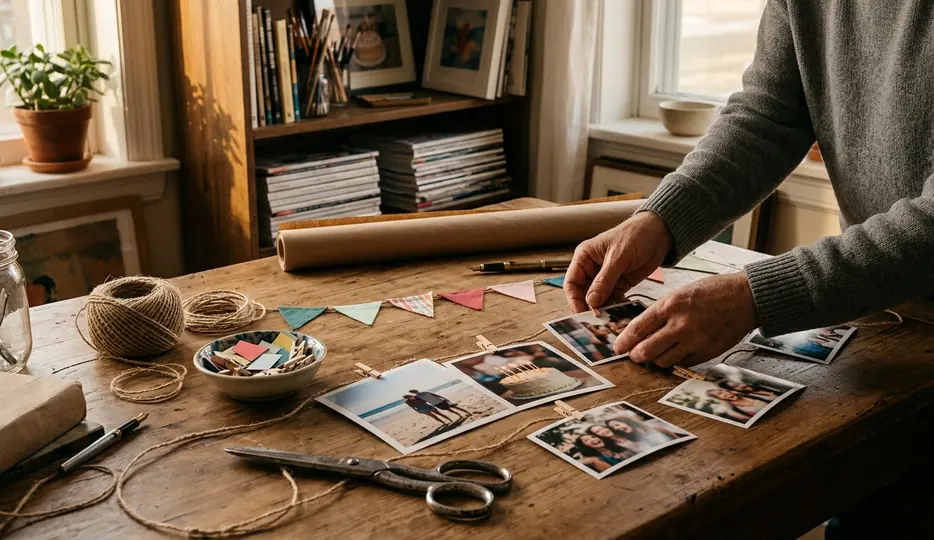
Spatial Planning for Tangible Timelines
Most event preparations begin by opening a digital folder and selecting favorite images. The physical environment becomes an afterthought, resulting in displays that feel disconnected from the venue. A successful installation requires heavy-stock matte prints, rigid mounting tension, and deliberate negative space to turn the arrangement into something closer to a curated gallery.
Begin with the room itself, not the photographs. Mark the primary viewing line at 57 to 60 inches from the floor. This height sits near average eye level, so guests do not have to stoop or strain to view the details. Measure each usable wall span along this line and estimate how many prints can occupy the space without crowding.
Structural Dependencies
Choose the paper weight and suspension system before editing the photographs. Print dimensions, clip width, and line sag determine the available sequence length. Build the final order only after these physical constraints are established. The physical weight of the paper immediately signals the quality of the celebration. Use matte stock in the 250 to 350 gsm range. Square retro prints on this heavier paper stay noticeably flatter than lightweight photo paper during handling and display. Lightweight paper curls at the edges, ruining the geometric line of the display.
Leave at least 3 inches of visible line or wall between adjacent print edges when the display is intended to read as a gallery rather than a continuous collage. That gap gives the eye somewhere to rest between images. Complete a full-size floor or wall mock-up two to three days before installation. Spacing and sightline problems become obvious during this physical test, allowing time for corrections before the venue setup window opens.
Sourcing Archival Paper and Suspension Hardware
Venue lighting is notoriously unpredictable, often featuring harsh spotlights or uneven fluorescent banks. Test one glossy print and one matte print under the room's actual overhead lighting. Reject the glossy version when reflections obscure faces from the normal viewing position. Specify acid-free, lignin-free matte stock for the final order. Lignin causes paper to yellow and become brittle over time. Keep any archival claim tied strictly to the paper and printing method rather than promising an unsupported lifespan. The guidelines on displaying photographs published by preservation authorities emphasize material stability as the foundation of any physical exhibit.
Order 3.5 by 3.5-inch prints with the white border included inside the finished trim size. At a resolution of 300 pixels per inch, the complete print file measures 1050 by 1050 pixels. This keeps the border crisp and uniform across the entire batch. Unpack the prints upon arrival and let them acclimate flat in the installation room for 12 to 24 hours before clipping them to the line. Paper absorbs ambient humidity, and acclimating prevents sudden warping once suspended.
Hardware Selection Criteria
Select the suspension cord next, then match the clip jaw to the combined thickness of the cord and paper. A 1 to 2-millimeter waxed cotton cord provides a grippy surface with less shedding than braided jute. Shedding fibers can distract from the clean aesthetic of the prints. Alternatively, 24 to 28-gauge dead-soft copper wire can hold a shaped drape. Dead-soft wire retains its bent shape, allowing for architectural curves rather than natural gravity drapes. The wire should contact the clips directly, never piercing or wrapping the paper itself.
Mini wooden clothespins measuring roughly 1 to 1.5 inches suit a handmade finish. One-inch brass clips create a cleaner geometric line and spread pressure across more of the border, which keeps permanent indentations out of the heavy cardstock.
Sequencing the Visual Rhythm
Arranging photos in strict chronological order often results in a predictable and visually monotonous timeline. A viewer walking along a suspended cord quickly loses interest when faced with twenty consecutive medium-shot portraits. Eyes look for variation and contrast. Introduce emotional pacing by alternating between wide group shots, intimate portraits, and macro details. A macro detail might feature a close-up of hands or a landscape texture.
Create a contact sheet and tag every image as a wide scene, portrait, or close detail. Group the photographs into loose life chapters. Within each chapter, sequence contrasting frame types so the viewer repeatedly moves from context to person to detail. This creates a narrative rhythm rather than a simple catalog of faces. For a 24-image banner, divide the edit into six four-image groups. Aim to include at least one wide scene, one portrait, and one detail within each group. The arithmetic keeps variety spread across the whole span.
Physical Thumbnail Sorting
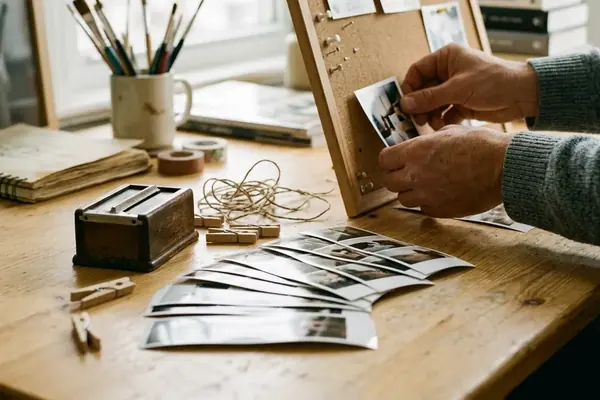
Print 1.5 to 2-inch paper thumbnails for sequencing. Digital screens isolate images, while physical thumbnails reveal the collective pattern. Laid out on a table, repeated subjects and abrupt color blocks are easier to catch than they are while scrolling through full-screen files. Keep similar portraits separated by two or three visually different frames, especially when their backgrounds and clothing colors are nearly identical. Placing them side-by-side creates an unintended focal weight that draws too much attention.
Add monochrome or sepia frames only after the first sequencing pass. Use them as visual pauses where saturated colors would otherwise form a dense, overwhelming block. These tonal shifts act as punctuation marks in the visual sentence. Allow roughly 45 to 90 minutes for the first digital edit and another 20 to 30 minutes for the physical thumbnail sequencing pass. Rushing this step compromises the entire display.
Calculating Tension and Anchor Placement
Gravity is the primary enemy of a suspended display. Calculate the math of spacing and establish proper tension before a single photograph is hung. Measure the clear span and mark every photo center directly on the cord before loading it. Marking the cord while it is flat on the ground ensures precise intervals that are impossible to measure accurately in the air.
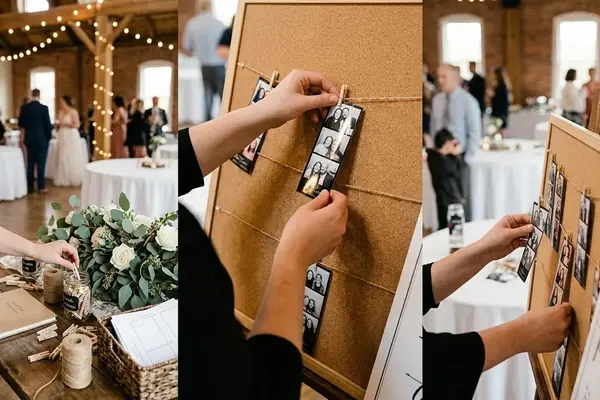
Fix the two end hooks, add an intermediate support to any run exceeding 6 feet, and hang the empty line with a shallow 1 to 2-inch center sag. Load prints outward from the midpoint in alternating left-right steps so the changing weight does not pull the entire composition to one side. Loading from one end to the other causes the cord to slip through the center support, ruining the alignment.
Environmental Load Management
Inspect the finished line from the main entrance to verify the drape. Use a 3 to 4-inch clear edge gap for an airy gallery layout. When the layout specification says 4 inches center-to-center, 3.5-inch prints will have only a 0.5-inch clear gap between their edges. Understanding the difference between center-to-center and edge-to-edge measurements prevents spacing errors.
Place intermediate anchors at intervals of 4 to 6 feet rather than forcing a long cord perfectly straight. A slight, controlled drape is structurally safer than a rigid, overtensioned line. Extreme tension increases the sideways load on adhesive hooks, which is what pulls them off the wall. Clean and dry the mounting points, apply temporary hooks in the load direction stated by their instructions, and test the complete weighted line 24 to 48 hours before guests enter the space. Adhesive requires time to cure and bond with the surface.
While temporary adhesive hooks support standard paper weights on smooth indoor walls, textured masonry requires venue-approved mechanical anchors. Fragile paint, moisture, or sustained wind calls for a freestanding frame. For light indoor air movement, clamp the lower white border with a second weighted clip. For a controlled outdoor line, tether the lower clips to a second cord so individual prints cannot flip in the breeze. A spinning photograph breaks the narrative sequence.
Step-by-Step Execution for a Decade Celebration
Building a specific 10th-anniversary display takes exact measurements to keep the result balanced. The inventory below removes the guesswork on site.
- 24 final image files cropped to 1050 by 1050 pixels, including the white border inside the trim area
- 24 matte 3.5 by 3.5-inch prints on 250 to 350 gsm stock
- One 120-inch length of 1 to 2-millimeter black waxed cotton cord
- Twenty-four 1-inch solid-brass clips
Place the end hooks 112 inches apart at a height of 60 inches, reserving approximately 4 inches of cord at each end for secure attachment. Add a center support at 56 inches so the load splits evenly across the span. Mark the first photo center 10 inches from the left anchor, then add 23 more center marks at exact 4-inch intervals. A fabric pencil or a small piece of tape keeps these marks visible during assembly.
With 4-inch center-to-center spacing, the distance from the first photo center to the last is 92 inches. This calculation accounts for the physical width of the first and last prints. The full image field including both half-widths is 95.5 inches. Across the 112-inch anchor span, the 95.5-inch image field leaves 8.25 inches of open line beyond each outside print edge when centered. That open line frames the collection, separating it from the surrounding architecture.
A literal 4-inch edge-to-edge gap would require 176 inches for 24 prints, so this 10-foot blueprint uses 4-inch center spacing and produces a 0.5-inch visible gap. The denser spacing reads as a continuous visual ribbon rather than isolated floating squares. Sequence the 24 prints on the floor. Clip the two middle photographs to the cord first, then work outward to the ends in alternating steps, holding the tension balance established earlier. Allow 45 to 75 minutes for measuring, clipping, leveling, and making the final sequence adjustments once the prints and hardware are ready.