Why Tactile Prints Anchor the Best Take-Home Favors
Picture the midnight cleanup of a reception hall in an old brick loft. Dozens of generic tulle-wrapped almonds sit abandoned on wrinkled linen tablecloths, waiting to be swept into the trash. Meanwhile, the custom matte-finish square prints tucked into cedar coasters have vanished into guests' coat pockets and evening clutches.
That contrast points directly to a practical solution for wedding favors that survive the night: pair a custom retro photography print or photobooth strip with a consumable or high-utility companion object, and give it an obvious route home. Treating reduced abandonment as your primary design goal changes how you assemble table goods from the ground up.
Three physical assembly rules govern whether a printed keepsake survives the dinner service intact:
- Scale the print to the companion object: Match the outer paper dimensions of the photograph directly to the physical footprint of the jar, packet, or stand so neither element overhangs awkwardly on the place setting.
- Select matte surfaces with documented permanence: Pass prints around a dinner table and you invite smudges. Matte finishes generally make handling marks and fingerprints less conspicuous than high-gloss surfaces, though surface sheen alone does not establish archival longevity; always verify the paper manufacturer's permanence specifications.
- Engineer tear-free detachment: Attach the print so guests can separate it from the packaging without ripping the emulsion or paper fibers.
Prototype Schedule Window: Assemble one complete print-and-object sample 28–35 days before the reception. Include the exact protective sleeve, attachment tie, and place-setting layout to verify physical tolerances before committing to bulk print runs.
Three Square-Format Pairings That Guests Actually Keep
Choosing a companion object depends entirely on the job you want that object to perform once the guest walks through their front door. A classic 3.5 × 3.5-inch square print—measured to its outer white border—works best when anchored to items that already have a designated place in a kitchen, garden, or home office. Before approving a full batch, confirm whether your print lab's advertised dimensions describe the total paper size or only the inner image area.
Small-Batch Honey Jars and Olive Oil Bottles
Consumable pantry gifts earn counter space immediately while the attached photograph migrates straight to the refrigerator door. Place the 3.5-inch square print inside a protective sleeve, punch a clean hole through the top corner of the sleeve itself, and tie it with baker's twine around the neck of a local honey jar or small olive oil bottle. Keep the twine high on the glass neck so the closure mechanism and the artisan product label remain completely accessible.
Regional Wildflower Seed Packets
Flat paper pairings appeal to guests who want to slip a favor into an interior suit pocket without bulk. Pair a retro square print with a sealed seed packet containing region-appropriate, noninvasive wildflower mixes selected using local horticultural guidance. Instead of forcing the photograph inside a dusty seed pouch, house both the sleeved square print and the sealed seed packet side by side inside a slightly larger kraft outer envelope.
Split-Cork and Brass Escort Stands
When a favor doubles as the reception escort card holder, guests carry the display hardware home with them, giving the photograph an immediate foothold on an office desk. Pair the square print with a split-cork cylinder or milled brass mini-block. To avoid ruining the aesthetic of the photograph with table numbers, slip a removable paper escort-card insert alongside the print so seating information detaches cleanly after dinner.
How do you ensure a square print stands upright without warping or tipping over? Caliper thickness matters more than basis weight numbers on a spec sheet. Test the stand's milled slot against the actual finished print thickness—including any protective coating—because paper weight figures alone never guarantee a snug mechanical fit.
Guest-specific archival squares require advance image matching and physical proof approval, making live photobooth strips the better operational fit whenever the intended keepsake is a spontaneous photograph captured during the reception itself.
Aim to finalize all personalized square-print digital files 21–28 days before the wedding date, working backward from the print lab's stated production and shipping windows to lock in your final order deadline.
Vertical Photobooth Strips as Functional Keepsakes
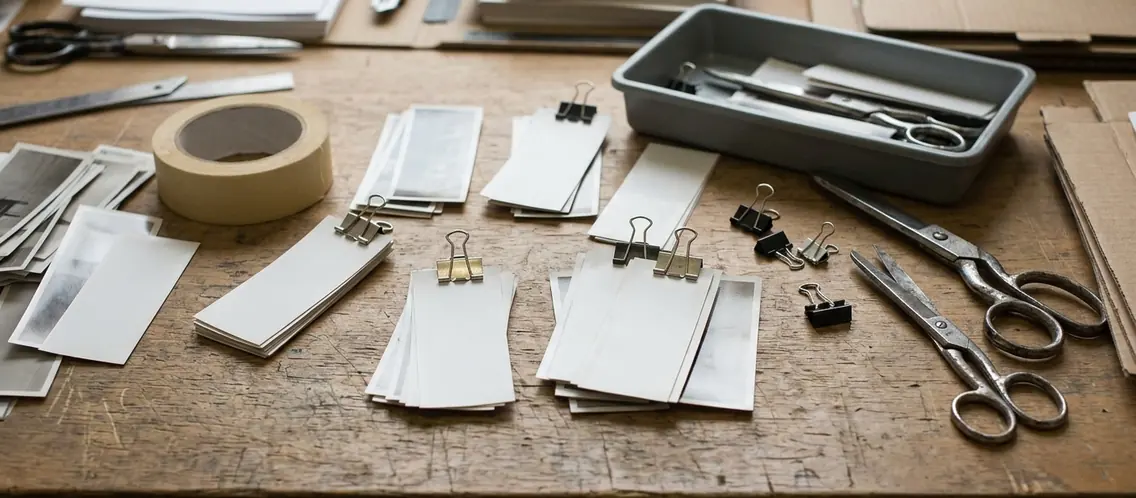
A traditional 2 × 6-inch photobooth strip carries a strict 1:3 width-to-length ratio. That tall, narrow geometry gives it the natural footprint of a bookmark or a vertical cabinet magnet, provided you verify the hardware tolerances during a dedicated fit-test window 14–21 days before the event.
Heavy-Duty Acrylic Magnetic Frames
Placing a rigid acrylic magnetic frame at each table setting serves a dual purpose: it can hold a pre-printed vintage strip of the couple during dinner, or act as an empty protective chassis waiting for the fresh strip the guest prints at the booth later that night. Do not rely on nominal exterior frame dimensions when ordering. Verify the usable internal insert opening and the slide-loading method using one physical test strip from your specific booth vendor, as a preselected 3.5-inch shared-memory square needs advance guest matching, while a reception-made strip needs a frame matched to the booth's actual output.
Thrifted Paperbacks and Pocket Notebooks
Pre-printed vertical strips featuring vintage-toned shots of the couple's favorite travel architecture make natural literary bookmarks. Tuck the strip inside a thrifted paperback novel or a linen pocket notebook. If you want the tactile charm of a custom wax seal, wrap a separate paper belly-band closure around the outside of the book and stamp the wax onto that band—never press hot wax or seal adhesives directly onto the photographic surface.
Whole-Bean Coffee Bag Belly-Bands
Wrapping a photo strip horizontally around a 4-ounce kraft bag of whole-bean coffee creates a striking rustic package, but it introduces a frequent geometric trap. A 4-ounce coffee bag describes its contents by weight, whereas its exterior circumference depends entirely on bean roast density and gusset folding. Because the 2 × 6-inch strip's length must be checked against the filled 4-ounce bag's measured wrap distance rather than inferred from the coffee weight, a six-inch strip will rarely encircle a plump bag on its own. Construct a longer kraft paper belly-band to wrap the bag, secure the band with a brass eyelet or tape, and mount the vertical photo strip flat against the front face of that band.
Curating Photos: Couple Portraits vs. Shared Memories
Before opening a color-grading catalog, decide whose memory the print represents. Guests rarely display a formal studio portrait of the bride and groom on their own living room shelving, yet they will proudly prop up a warm, nostalgic candid showing themselves laughing with the couple years ago.
Strategy A (High Effort, High Impact): Mine your digital mobile photography archives and scrapbooking folders to locate a shared candid with every single guest. Start matching guest names to image files 35–42 days before the reception. Because these files will originate from different smartphone generations and lighting conditions, pull the oldest and lowest-resolution files first and order physical proofs 21–28 days out. Once you see how the weakest files hold up on paper, apply a unified warm, slightly faded color treatment across the entire batch to tie the tablescape together.
Strategy B (Low Effort, High Aesthetic): If tracking down individual guest photos proves impossible, curate a cohesive set of scenic architectural, botanical, or travel photographs taken by the couple. Print them with classic instant-film borders and use the wide bottom margin or the reverse cardstock side to write a personal note to the guest sitting at that seat.
Mobile Photography Resolution Limits: At a standard print resolution of 300 pixels per inch, a full 3.5-inch square canvas requires 1,050 × 1,050 pixels, while a 2 × 6-inch strip canvas requires 600 × 1,800 pixels. Always build files inside your printer's exact template for borders, bleed, and crop lines.
When preparing mobile files for print displays, crop the composition first and keep all faces well clear of the outer crop boundary. Apply restrained warmth and subtle film grain only after locking the crop. While added grain helps unify surface texture across mismatched phone cameras, it cannot restore missing optical detail, and heavy-handed grain will quickly obscure facial features at compact favor-print sizes.

Moisture Barriers, Paper Weight, and Ordering Math
Reception tables are hostile environments for raw paper stocks. Between sweating water pitchers, butter plates, and damp floral vessels, unprotected prints absorb ambient moisture and oils rapidly. Separating the photograph from grease, wax, and condensation must happen before you choose any decorative ribbon.
Slip every print into an uncoated archival polyester or polypropylene photo sleeve whenever pairing it with food containers, wax candles, or glass bottles. Standard translucent glassine envelopes look vintage, but glassine is not a reliable condensation barrier against a cold bottle or humid night air. Keep prints away from direct food contact and sweating glass entirely, remembering that a clear sleeve with an open top edge provides surface protection rather than waterproof containment. For deeper context on archival sleeves and long-term handling, review the Library of Congress documentation on caring for color photographs and prints.
Adhesive selection requires equal discipline. Permanent glue dots and standard office tape will tear paper fibers or leach plasticizers into the emulsion over time. Even gentle Japanese washi tape belongs on the outer kraft packaging or sleeve rather than in direct, long-term contact with the photographic surface. Secure prints using slotted paper corners on backing boards, or tie hemp twine around the outside of the protective polyester sleeve so the guest can slide the print free without resistance.
- Calculate your true order quantity: Ordering the exact guest headcount sets up an immediate production shortfall. Build your print order by adding four distinct buckets: assigned guest favor prints, assembly spares (to absorb ink smudges during handwriting on the bottom border), a reserve buffer for late RSVP additions, and one complete master archive set for your own wedding box. If you are printing guest-specific candids, remember that a complete archive set requires ordering one duplicate of every distinct photograph.
- Execute the final assembly window: Complete all sleeve insertion, handwriting, and companion-object packaging 7–10 days before the wedding. Hold your spare prints and blank escort inserts in reserve until 2–3 days before the reception, when you can reconcile last-minute seating changes and late additions without scrambling.
Just over two weeks after an October wedding, the morning light hits a quiet kitchen counter. A guest stands by the stove, scooping whole beans from a kraft favor bag into a grinder while water heats in the kettle. Across the room, held to the refrigerator door by a small brass clip, the matte 3.5-inch square print from the reception table shows two friends grinning in the sun six summers ago—clean, flat, and unmarked by a single drop of dinner condensation.