Structuring a Culinary Archive Beyond the Ingredients
The preservation guidelines published by the Library of Congress note that acidic paper—common in mid-century index cards—deteriorates rapidly when exposed to fluctuating humidity and oils. Kitchen environments accelerate this degradation. Grease-stained recipe cards add a reason to handle originals sparingly. A recipe scrapbook needs high-resolution digitization of originals, archival-grade physical materials, and contextual photography that anchors the dish in its era.
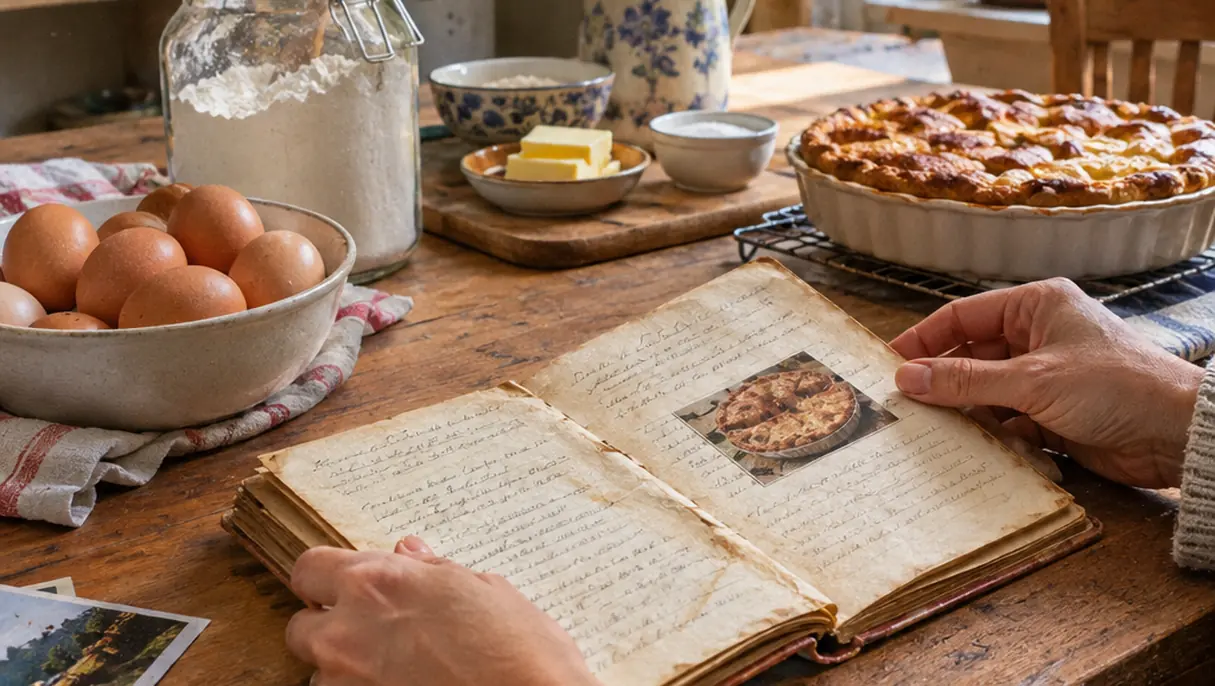
Preserving family recipes goes beyond the ingredients. It saves the physical handwriting and the memories attached to the meals. The ink strokes, the faded margins, and the accidental spills all tell a story of domestic life. Plan a roughly 30 to 60-minute inventory session to group cards with any related photographs and identify relatives who can explain them. Grouping materials by era or author helps dictate the visual direction the scrapbook will eventually take.
During this inventory, handle the cards as little as possible. The oils from human skin can further damage the already fragile paper. Lay the collection out on a clean, dry surface. Categorize the recipes into logical batches. Some archivists prefer sorting by the original author, while others group by the type of dish. The goal is to map the culinary history before any scanning or photography begins.
High-Resolution Scanning for Fragile Index Cards
Inventory and scan fragile, grease-stained recipe cards before arranging any scrapbook pages. Capture both sides, including backs with later revisions. Scan at a minimum of 600 DPI at the card’s original size. Save a lossless master file and a separate print-ready copy. Use clean, dry hands and support torn cards during handling. Do not press a brittle or raised surface flat against scanner glass.
Allow about 20 to 40 minutes per small batch to scan fronts and backs, check legibility, and name files so each side remains paired. Consistent file naming prevents confusion later in the layout process. The grease spots, crossed-out measurements, and margin notes are authentic historical artifacts. Make a separate copy for cropping or tonal adjustments.
Print reproductions on archival photo paper with compatible ink, preserving the full card edge when its shape or wear carries meaning. Store the originals in protective sleeves away from scrapbook adhesives. The scrapbook displays printed reproductions. The brittle handwritten cards remain protected separately.
Handling Guidelines for Torn Edges
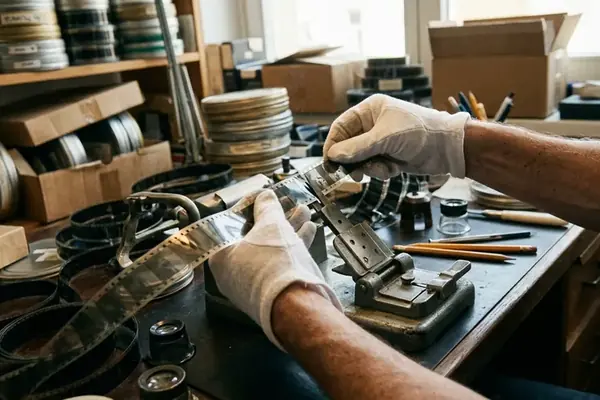
When dealing with severely degraded cards, use a piece of clean, acid-free paper as a backing board to lift and move the item. Never pull a card by its corner. If a card is folded, allow it to rest in a relaxed state rather than forcing it flat under heavy weights, which can snap the paper fibers.
Recreating Era-Specific Aesthetics in Food Photography
Read the card and any accompanying family photograph before choosing props. Match the dish’s documented setting through a baking vessel, table surface, or piece of flatware. Vintage props like Pyrex dishes or mid-century flatware ground the image in its historical context. Photograph the cooking as well as the serving. Make three frames for each recipe: an in-progress detail such as flour on the counter, the dish in its cooking vessel, and the served portion.
Set aside around 30 to 60 minutes for a shoot during the recipe’s actual preparation. Photograph half-mixed batter before that stage passes. A direct-flash frame and a gently warm edit give the new pictures a familiar snapshot feel. This lighting technique mimics the look of mid-century consumer cameras.
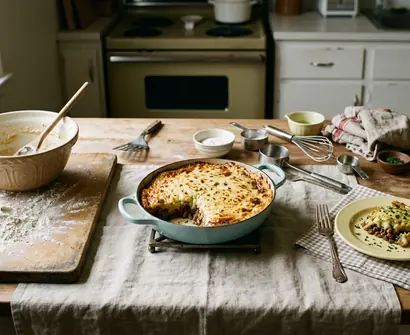
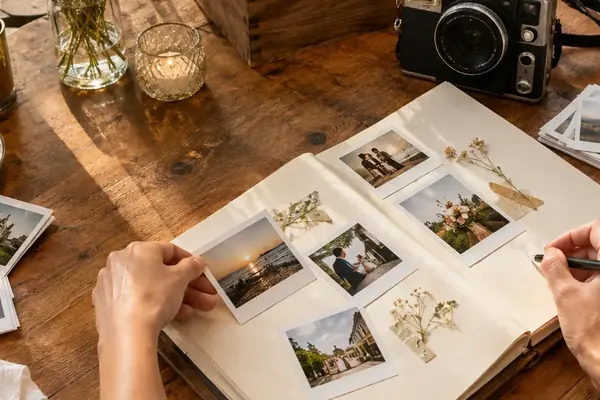
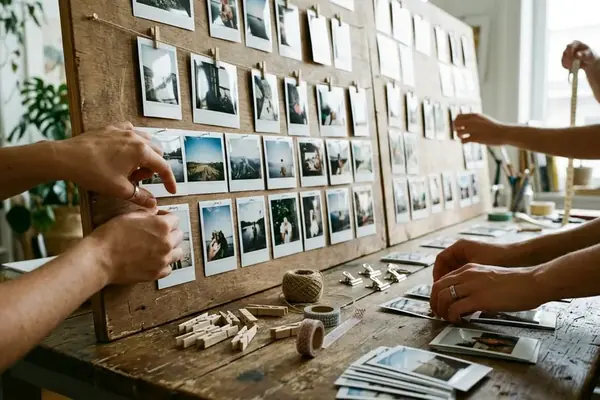
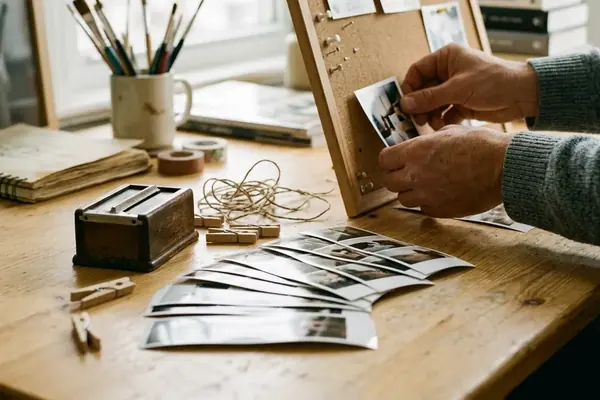
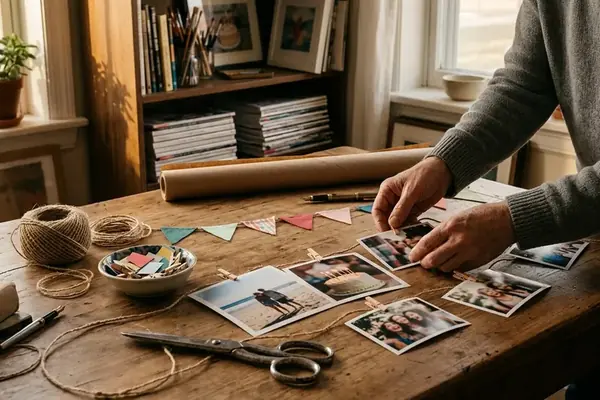
Add an instant print when its physical border and surface suit the page. Instant cameras like Polaroid or Instax add a tactile, nostalgic element to the scrapbook pages. Scan an instant photograph at about 600 DPI before mounting it, so the scrapbook does not hold the sole copy of the image. Photograph an identifying detail beside each finished dish, such as the serving plate or handwritten instruction that ties the new image to the old recipe. This gives the old and new images a visual connection.
Lighting Choices for Mid-Century Meals
Avoid overly diffused, modern softbox lighting if the goal is historical accuracy. Hard light from a single on-camera flash creates the distinct shadows characteristic of vintage family albums. Pair this lighting with a slightly warm color balance to replicate the aging process of older photographic prints.
Capturing Oral Histories Alongside the Meals
Oral histories can sit alongside the recipes. After the cooking photographs, ask an older relative to describe the person behind the handwriting and the meals associated with the card. Schedule a conversation lasting roughly 15 to 30 minutes around one or two cards. Photograph or scan the card in advance so both people can refer to the same markings.
Record their words, transcribe a short passage, and place it beside the relevant scan and food photograph. Ask specific questions. Who originally wrote this recipe? What holiday was it always served at? What did the kitchen smell like when it was baking? Retain the recording date and speaker’s name with the transcript. Distinguish a direct quotation from a caption you wrote.
Treat recalled dates as recollections unless another record confirms them. The speaker’s exact sensory descriptions can still be preserved in their own words. A grease-marked card becomes a linked set: front-and-back scans, a photograph of the dish in its cooking vessel, and a relative’s words about the meal.
Navigating Contradictory Family Memories
Different relatives often remember the origins of a specific dish differently. Document these variations rather than trying to establish a single definitive truth. The conflicting memories themselves form an important part of the family narrative. Record both versions and present them side-by-side in the final layout.
Assembling Acid-Free Layouts for Long-Term Storage
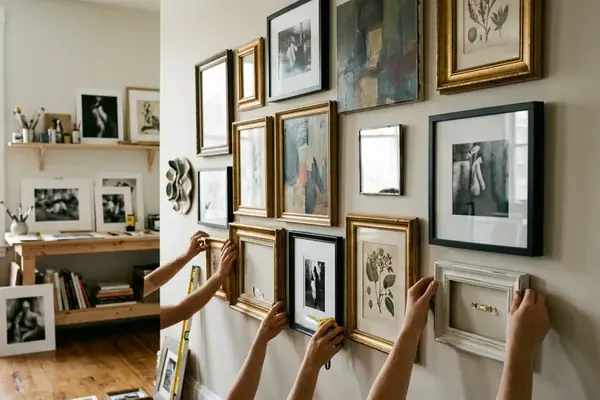
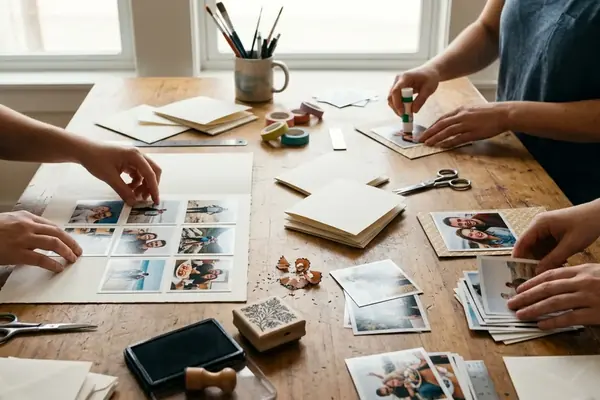
Choose an order that a future reader can navigate. Organize the book by family branch, by season, or by course. Keep each card scan close to its cooking photographs and quoted memory. Assemble pages with acid-free, lignin-free paper and photo-safe mounting materials. Use photo corners or sleeves identified as safe for photographs. Check that paper and adhesives are labeled acid-free.
Budget roughly 45 to 90 minutes to sequence scans, photographs, and captions before attaching anything to the pages. Laying out the entire book dry allows for adjustments in pacing and visual weight. Ensure that heavy visual elements, like dark instant prints, are balanced across the spread.
Reserve two to four blank pages at the end of the scrapbook. This allows the next generation to add their own recipes and retro-style prints, with space to record who contributed each future recipe and when. The physical construction of the book must support the weight of the added photographs and heavy paper stock. Select a binding method that allows the pages to lie flat without stressing the spine.
Which handwritten correction or margin note on a family recipe card would disappear if only the ingredients were copied?