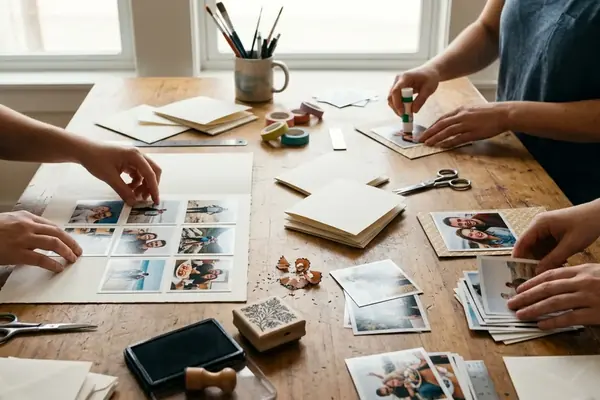
The Mechanics of a Damage-Free Display Block
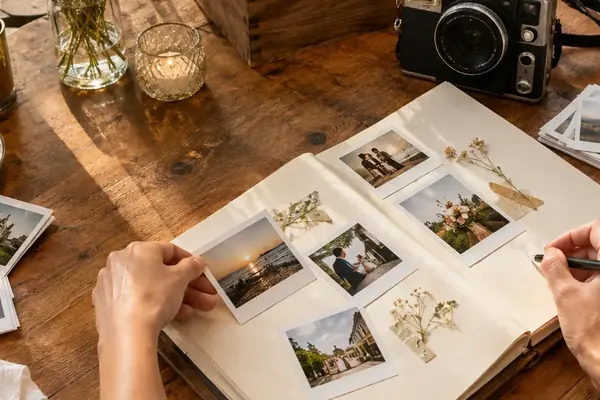
Bringing digital photographs into the physical world gives them the warmth, texture, and lasting presence of analog keepsakes. Whether you are curating wedding inspiration boards or organizing a backlog of mobile photography, displaying these retro photo prints requires a careful balance between visibility and preservation. Traditional mounting methods often compromise the integrity of the photograph over time. Clips apply concentrated pressure that can easily crease or emboss aging paper. Tapes and mounting putties introduce chemical risks, as their adhesives migrate into delicate photographic coatings and cause irreversible discoloration.
A weighted wooden block with backward-angled slots provides a practical, reusable design. This tabletop photo rail functions as a freestanding, adhesive-free display system. The preservation requirement is simple: the photograph receives full structural support without anything touching its image surface or leaving sticky residue behind.
Building this display requires minimal tools and creates an elegant, lasting way to rotate print collections. The entire project demands about 60 to 110 minutes of hands-on work. Any finish drying or curing period adds to that baseline timeline, making it well suited to a weekend project.
Balancing Mass and Machining in Timber Selection
Wood selection dictates both the visual character and the physical stability of the final piece. The choice requires balancing mass, machining quality, and the intended location of the display. Hardwoods like oak or walnut provide substantial weight in a compact footprint—a crucial factor when displaying taller horizon prints that shift the center of gravity. These dense woods also tend to retain crisp, clean slot edges during the machining process, leaving a clean finish.
Pine offers an accessible alternative that is easier to cut and less costly. A pine rail requires a slightly wider base from front to back because the material is lighter and its slot edges dent more readily under pressure. A practical hardwood rail designed for a standard desk or mantelpiece measures 250 to 350 mm long, 60 to 75 mm deep, and 25 to 35 mm high. A pine version benefits from an increased depth near 75 to 90 mm to achieve similar stability.
Optimizing Base Dimensions for Stability
When planning the layout for prints up to roughly 100 to 150 mm tall, keep the rear groove at least 20 to 25 mm from the back edge. Test the overall stability with your tallest print before applying any finish to the wood. Before machining, acclimate an indoor-stored blank in the display room for 24 to 72 hours. This resting period allows the wood to adjust if it has come from a markedly colder, hotter, or damper location, preventing future warping that could pinch the photographs. Keep the wood blank long while cutting the grooves to give your clamping setups more purchase and improve overall safety.
Calibrating Saw Angles for Optimal Light Catching
Establish the groove geometry by conducting a physical scrap test. Use the saw's angle markings only as a starting point for this application. Set the saw blade to a 10 to 15-degree backward lean, measured directly from vertical. This angle lets the top of the photograph lean backward naturally to catch ambient room light. Reversing the tilt makes the display inherently unstable by directing the print's weight toward the front edge.
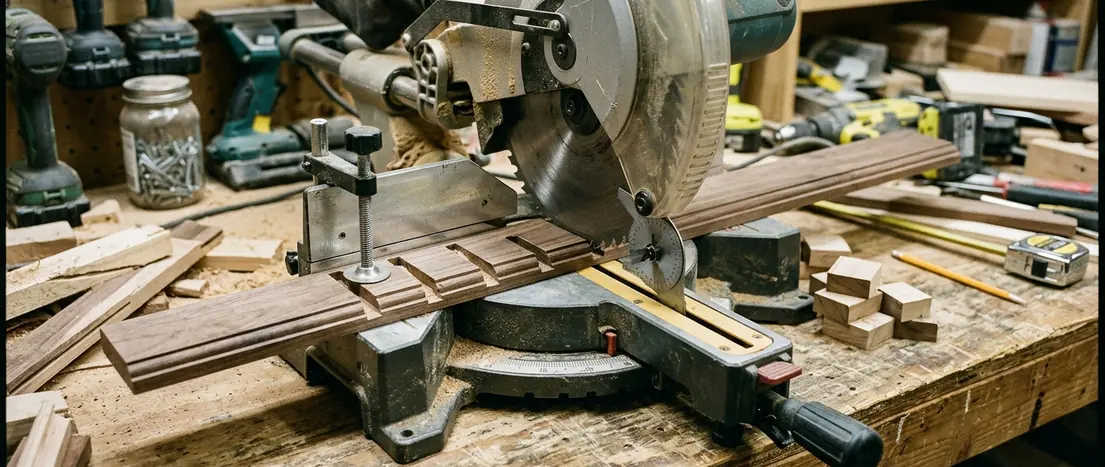
A shallow first test cut establishes the actual blade kerf in your specific piece of wood. Common thin-kerf and full-kerf blades leave slots around 2.4 to 3.2 mm wide. That width accommodates the thickness of classic instant film and modern mini prints. The angled walls and the insertion depth work together to provide the necessary support for the paper.
Test unusually thin paper prints in a scrap piece before cutting the final rail. Increase the blade depth gradually until the print stands securely while its lower image boundary remains fully visible. Set the groove depth to 6 to 8 mm for small instant-style prints. You can increase this depth up to 10 mm for larger cards, provided the cut avoids obscuring the photograph's image area. Space multiple grooves 15 to 25 mm apart. This spacing ensures that overlapping prints can be lifted out easily without scraping against the row behind them. Groove setup and test cutting generally take 20 to 35 minutes of focused work. Cut all the slots before shortening the blank to its final length so your hands remain safely away from the blade.
Smoothing Channels and Selecting Archival Sealants
Start sanding at the contact surfaces and work outward. Level the exposed exterior faces with 120-grit abrasive paper. Refine those surfaces further with 180- or 220-grit paper until smooth. Fold a strip of 220-grit paper around a thin card and pass it carefully through each 6 to 10 mm-deep channel. Use this makeshift tool only until the visible saw marks and sharp wood fibers disappear. Excessive sanding will widen the groove unevenly and compromise the print's stability. Remove all residual dust with a clean brush or a vacuum before moving on to the finishing stage.
Preventing Emulsion Damage from Wood Finishes
Leave the slot interiors completely bare whenever possible. Apply any protective wax or oil sparingly to the exterior surfaces only. Uncured stains and solvent-rich varnishes release harmful vapors and can transfer color to your prints. Delay photograph insertion during the manufacturer's full curing interval. This waiting period often extends from 24 hours to several days. Wait for the complete chemical cure to finish before trusting the surface, even if it already feels dry to the touch.
Pure beeswax is a stable finish. Apply a very thin exterior coat and buff the surface after 15 to 30 minutes. Avoid packing wax into the slots because ambient room warmth softens the material and creates a risk of transfer to the paper. Food-grade mineral oil darkens the wood grain beautifully, though it remains mobile much longer than a curing finish. Wipe off all surplus oil, wait 24 to 48 hours, and verify that a clean white cloth picks up absolutely no residue before loading your prints. Final sanding, dust removal, and waxing require approximately 25 to 45 minutes of active work, excluding the necessary waiting periods.
Layering Formats for Visual Depth
An adhesive-free display makes it easy to swap memories when fresh inspiration strikes. Build your first visual arrangement from back to front to establish proper depth. Place the tallest or widest horizon print in the rear groove to serve as the backdrop. Medium square prints establish a strong middle layer. Mini prints occupy the front row without covering important faces or handwritten captions on the layers behind them. Leave approximately 10 to 20 mm of visible border or image around each overlapping print so the entire layered arrangement remains readable and visually balanced.
A standard three-groove rail holds one rear horizon image, two partially overlapping square prints, and two or three front mini prints, depending on their specific widths and the rail's overall 250 to 350 mm length. Like scrapbooking, the arrangement can form thematic vignettes that evolve over time.
Establishing a Print Rotation Routine
Keeping the rail completely empty of fasteners reduces a swap to simply lifting one print and inserting another. A complete rearrangement takes just two to five minutes because there is no adhesive removal, clip repositioning, or frame disassembly involved. For a deliberate rotation habit, review the display every 7 to 14 days and return displaced originals to clean sleeves immediately.
The wooden slot eliminates clip pressure and mounting residue. However, the open top design exposes vintage prints to ambient light, dust, and room humidity. Irreplaceable prints belong in photo-safe enclosures while high-quality display copies occupy the rail. Which memory will set the theme for your first back, middle, and front arrangement?