The Irreversible Cost of Mismatched Print Methods
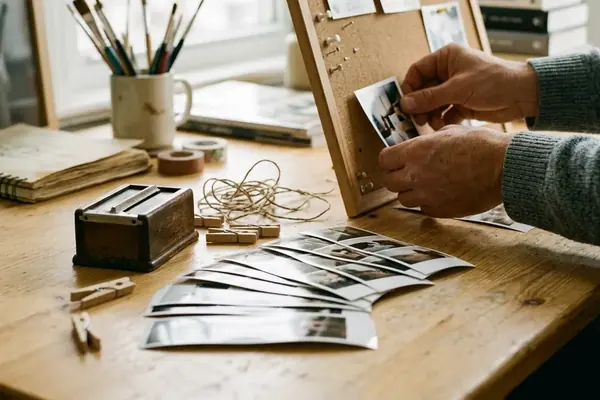
There is something undeniably magical about holding a physical photograph in your hands. Smartphone snaps only become tangible memories once they leave the screen, and that jump from digital convenience to analog charm carries its own set of rules. The resurgence of retro photography brings a renewed appreciation for the tactile qualities of printed images, yet many enthusiasts overlook the physical vulnerabilities of these objects. Choosing the wrong printing method for a specific environment risks the irreversible loss of captured memories, turning vibrant physical photographs into washed-out, magenta-tinted ghosts within a few short years.
The convenience of mobile photography generates thousands of images, driving a strong desire to hold a physical object. Translating those digital files into tangible objects requires understanding the physical limitations of the chosen medium. A beautifully composed shot printed on the wrong material degrades rapidly, undermining the effort spent capturing the moment.
Defining the Three Planning Horizons
The decision requires separating three distinct uses that frequently overlap in print displays and archival planning. You must evaluate handling during the first one to seven days, continuous display over one to ten years, and dark-storage preservation for fifty years or longer. Treating these distinct timelines as a single requirement leads to catastrophic failures in preservation.
Silver halide remains the gold standard for generational family archives kept in dark albums or boxes. Pigment-based inkjet offers superior fine-art color but requires strict environmental control. Dye-sublimation provides unmatched durability against physical handling at the cost of long-term archival stability. Longevity relies on the chemical relationship between the colorant, the receiving paper layer, and the ambient environment. Judge the complete image system—colorant, receiving layer, protective coating, processing quality, and environment.
Evaluating Color Shifts: A magenta or reddish cast commonly appears when cyan density falls faster than the remaining colorants, although the exact shift depends on the ink set and exposure spectrum.
Chromogenic Chemistry and the Embedded Gelatin Structure
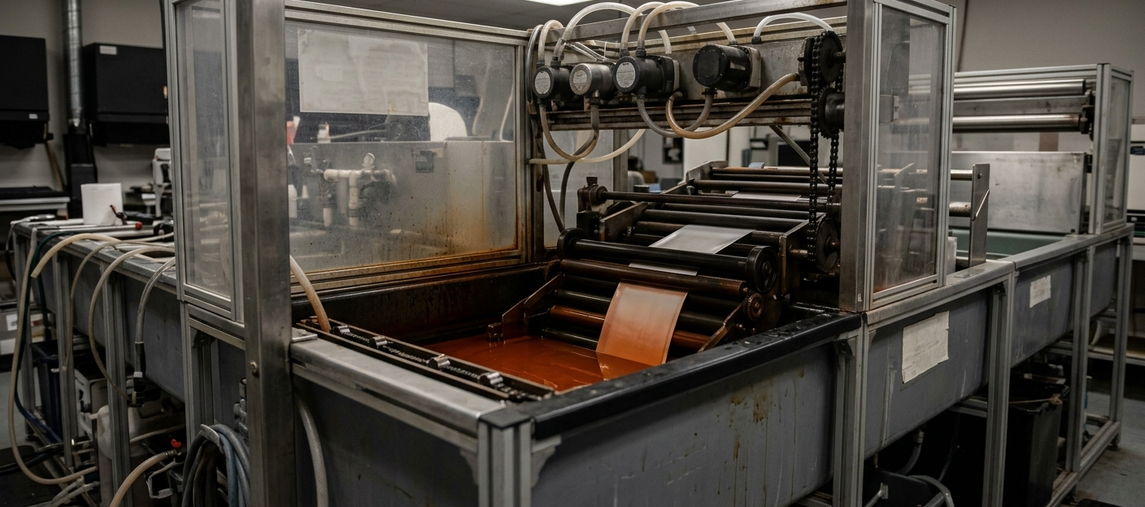
The traditional chromogenic process, often called a C-print, builds the image directly into the paper rather than applying ink to the surface. Light exposes light-sensitive silver halide crystals embedded within gelatin layers. Chemical development then forms cyan, magenta, and yellow dyes around the exposed sites. A subsequent bleach-fix bath removes the metallic silver and unexposed silver halide. The finished image consists entirely of these synthesized dyes suspended in gelatin.
This embedded structure makes silver halide prints highly resistant to surface scratching and physical smudging. The gelatin tolerates ordinary dry handling better than a friable matte pigment surface. You can pass these prints around a table without immediately damaging the image layer. A wet or softened gelatin emulsion can abrade, block, or adhere to glass, requiring careful handling in humid environments.
The Hidden Dangers of Exhausted Chemistry
The precision maintained during processing directly impacts the longevity of the final print. Chemical baths must hold specific temperatures and replenishment rates to function correctly. When a lab rushes the process or stretches the chemistry beyond its intended capacity, the resulting prints carry the seeds of their own destruction. The embedded gelatin structure offers remarkable durability, but only when the underlying chemistry is perfectly balanced.
The primary vulnerability stems from the processing phase. Inadequate bleach-fixing, exhausted chemistry, contamination, or insufficient washing leaves reactive residues. These residues create yellow or brown staining from within the image layers over months or years.
A common automated chromogenic-paper sequence uses approximately 45 to 60 seconds in developer, a similar interval in bleach-fix, and roughly 60 to 120 seconds of washing or stabilization. The chemistry supplier and processor determine the exact cycle. Process-control strips require checking at least daily when a lab produces continuously. Retained sample prints allow inspection after a day or two and again after six to 12 months for yellow staining or uneven density.
Heat-Activated Dyes and the Crucial Clear Overcoat
Modern instant cameras and kiosk printers utilize a four-stage physical system rather than a simple liquid ink application. A heated printhead drives dye from successive cyan, magenta, and yellow ribbon panels into a specialized polymer receiver layer. Compact dye-transfer printers normally make three color passes plus one final overcoat pass. A small snapshot commonly finishes in something on the order of a 30 to 90-second cycle, depending on print size and transport design.
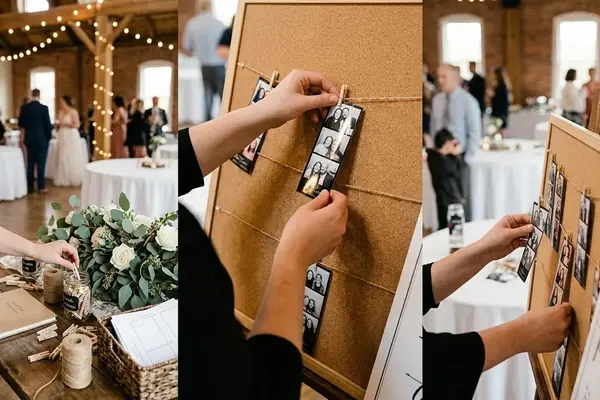
The clear overcoating seals the image against moisture, fingerprints, and atmospheric ozone. Prints can usually be handled as soon as the printer completes the final pass and ejects them. This sealed surface provides a practical advantage for a wedding guestbook or a scrapbook assembled over a few days. It reduces direct contact between fingers, moisture, airborne contaminants, and the image dyes.
Thermal Vulnerabilities in Scrapbooking and Displays
Enthusiasts often incorporate these prints into diy projects, relying on the durable nature of the overcoat. The sealed surface resists the occasional spill or the oils from repeated handling, making it ideal for interactive displays. The thermal vulnerability remains a critical factor. Placing a scrapbook near a heating vent or leaving a stack of prints in a hot car during a summer wedding causes irreversible damage before the images even reach their final destination.
The specific weakness of dye-sublimation relates directly to its manufacturing process. Heat activates the dyes, and subsequent heat can remobilize those dyes within the receiver layer. Exposure lasting hours to days in a closed sun-heated vehicle, beside a heater, or against hot glass softens edges, transfers dye, and blurs fine detail.
A continuously sunlit window display, by contrast, exposes those same mobile dyes to repeated heat and light cycles for months or years.
Navigating Inkjet Chemistry and Paper Pairings
Inkjet technology splits into two primary categories based on colorant type and paper coating. Dye molecules dissolve completely in the carrier liquid and enter the receiving layer. Pigment inks leave microscopic solid particles concentrated at or near the coated surface. Paper functions as an active part of the chemistry. Fast-drying microporous coatings admit air and pollutants. Swellable polymer coatings encapsulate dye molecules to protect them from ozone.
The choice between dye and pigment inks involves a trade-off between vibrant color reproduction and long-term stability. Dye inks penetrate the paper, creating a smooth, continuous tone that appeals to many photographers. Pigment inks, sitting on the surface, offer superior resistance to fading but require careful handling to avoid physical damage. The interaction between the ink and the paper coating determines the final appearance and the archival lifespan of the print.
Unprotected dye-based inkjet prints are highly susceptible to rapid fading from UV light and ozone exposure. A magenta-heavy failure is consistent with substantial cyan loss, sometimes accompanied by yellow loss. Dye-set formulations do not all fade in the same order. Using a porous fine-art paper with dye inks accelerates fading. Swellable papers encapsulate the dye but remain highly vulnerable to high humidity. Such papers may need several minutes to become touch-dry and close to a full day to equilibrate. High humidity softens the receiver layer and promotes sticking.
The Fragility of Matte Pigment Surfaces
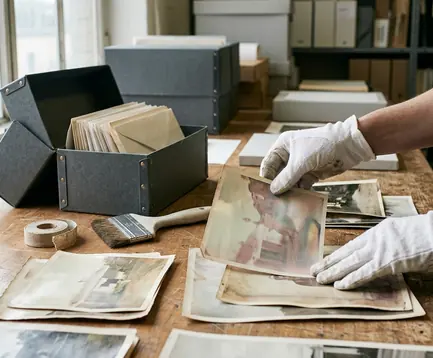
Pigment ink on acid-free cotton rag supports long preservation targets under low light. Matte surfaces require interleaving or sleeving because rubbing dislodges surface particles and reveals pale scratches immediately. Allow a newly made inkjet print to dry and outgas for a day or two before stacking, sleeving, or sealing it behind glazing. The printer, ink, and paper instructions take precedence when they specify a longer interval.
Atmospheric Threats to Displayed Photographs
The display environment dictates the lifespan of a photograph just as much as the manufacturing process. The same print ages very differently in a dark album compared to a bright window. UV radiation and atmospheric pollutants drive most print degradation. What matters most is total light exposure, ultraviolet content, ozone and other oxidizing pollutants, temperature, relative-humidity cycling, and contact with glazing.
The physical expansion and contraction of paper fibers exert immense stress on the image layer. As humidity fluctuates, the paper base moves, but the ink or emulsion layer may lack the same flexibility. This mismatch leads to microscopic cracks, crazing, or the separation of the image layer from the base. Maintaining a stable environment minimizes these physical stresses, preserving the structural integrity of the photograph.
Fluctuating humidity levels cause paper fibers to expand as humidity rises and contract as it falls. Repeated cycles craze an ink-receiving coating, curl a print, or press a softened chromogenic gelatin layer against framing glass. Following general preservation principles regarding climate control ensures better longevity. For occupied-home storage, aim for a stable 18 to 24 degrees Celsius and roughly 30 to 50% relative humidity, with lower light preferred. Avoid attics, garages, radiators, exterior walls with condensation, and direct window sun.
Conducting a Practical Home Environment Audit
A practical home audit records conditions where the photograph actually hangs or is stored. Log temperature and humidity at regular intervals through the day, ideally across two to four weeks, to capture daytime heating, overnight cooling, and weather-driven moisture changes. Accelerated light-fade ratings cannot be converted directly into a guaranteed number of years in a particular home, as lamp spectrum, illumination level, daily exposure, temperature, humidity, pollution, glazing, and dark recovery differ from the controlled test chamber.
Inspect displayed photographs every three to six months by comparing them with a protected duplicate stored in darkness. Check neutral grays, skin tones, shadow density, edge sharpness, and any contact point with glazing.
Matching the Photograph to Its Future
No single printing method is impervious to time. The right choice depends entirely on how the physical photograph will be used and stored. Frequently handled retro snapshots go to overcoated dye-sublimation. Carefully framed art goes to a matched pigment-ink and archival-paper system. Family photographs intended for discovery decades later go to a process-controlled chromogenic lab print stored in a suitable enclosure.
The physical print represents only one part of a complete preservation strategy. The digital master serves as the ultimate backup, providing a source for future reprints if the physical object suffers damage. Managing these digital files requires the same level of attention as storing the physical prints. Regular verification and migration ensure that the digital master remains accessible as technology evolves.
Keep at least one display or handling copy and one protected copy. Store the protected print in an acid-free, photograph-safe sleeve or album away from light. Retain the full-resolution digital master in two separate storage locations. Verify that both copies open every year or two, and migrate them when a storage device or file system is being retired. Review boxed print collections every two to five years for odor, staining, tackiness, mold, sleeve adhesion, or color change.
Are you printing these photos to be passed around a crowded party tonight, or are you printing them for a grandchild to discover in a quiet box fifty years from now?