Embracing the Messy Reality of Month Seven
At month seven, a parent lays the baby on a faded floral rug beside a window and frames the instant camera for the monthly portrait. The planned studio-like pose immediately falls apart. The baby rolls, grabs at the rug, and refuses to stay still. The rigid pose is abandoned once; the resulting frame—with a twisted sock, blurred hand, and uneven rug—becomes the more truthful record of that specific stage of life.
That single experience establishes the governing rule for the entire series. Repeat a simple setup and preserve the actual moment. The most successful first-year documentation relies on consistency over perfection, prioritizing physical prints over digital hoarding. A cohesive album requires a framework that survives sleep deprivation and shifting schedules.
Evaluate potential setups using strict criteria. They require ease of execution for tired parents, consistent natural lighting, and a clear visual reference for scale. Keep each monthly session short—roughly five to ten minutes. Prepare the rug, camera, scale object, and age marker completely before placing the baby in the frame. Photograph during the same half-hour-to-hour window relative to the room's best daylight each month. Relying on a clock time fails because the light shifts dramatically with the season and weather. Choose one measurable scale reference. A wooden toy of around 25 centimeters or the repeated floral motifs on the same rug work perfectly. Leave its size and position unchanged throughout the year to make the physical growth undeniable.
Building a Repeatable Lighting and Camera Foundation
Establish the visual system during the very first session. Select the brightest indirect window in the home. Mark the camera position with removable tape on the floorboards. Record the focal length or the specific fixed-lens camera used in a dedicated notebook. Save one reference frame showing the complete setup. Each later month begins by recreating those recorded choices.
Natural window light supports the muted shadows and gentle color transitions associated with retro prints. Place the setup approximately half a meter to a meter and a half from a large window with indirect light. Direct sun creates hard shadows and exposure differences across the baby's face, which instant film struggles to balance. Recheck the camera height, lens orientation, and distance to the baby's head during a brief setup check each month.
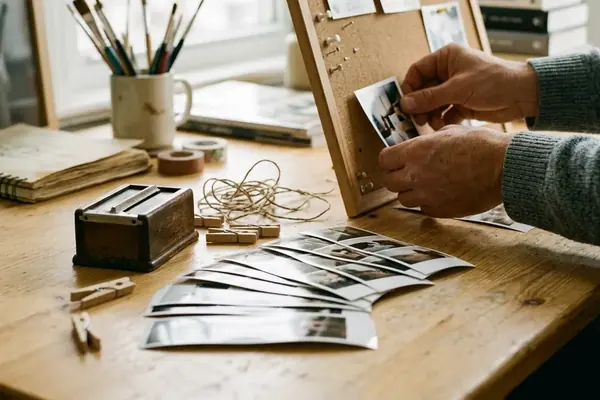
Handling the physical media requires specific care. Let an instant print complete the manufacturer-specified development interval before handling or stacking it. Keep newly ejected film shielded when its instructions require it. Direct-sun handling is film-specific. Some integral films need shielding immediately after ejection, while others are less sensitive. The instructions supplied with the loaded film take precedence over a universal exposure rule.
Protecting Analog Materials: Store finished prints away from sustained sunlight. Ultraviolet exposure and heat accelerate fading or color shifts. When selecting materials for scrapbook storage, use pages, sleeves, and photo corners described as acid-free and lignin-free. Materials that have passed the Photo Activity Test provide stronger evidence of photographic compatibility than an acid-free claim alone. Reviewing archival storage guidelines for photographs ensures these tangible memories survive for decades.
Five Analog Frameworks for Documenting Growth
Select a framework by applying three tests to each option. A parent must be able to rebuild it quickly. The light and camera geometry must be repeatable. At least one unchanged object must show scale. Record a short setup card after the first photograph. Rug placement, chair position, prop spacing, and camera height require written documentation rather than relying on memory a month later. Maintain a repeatable cadence of one session roughly every four weeks for months one through twelve. A separate newborn image serves as the album opener without changing the twelve monthly comparisons.
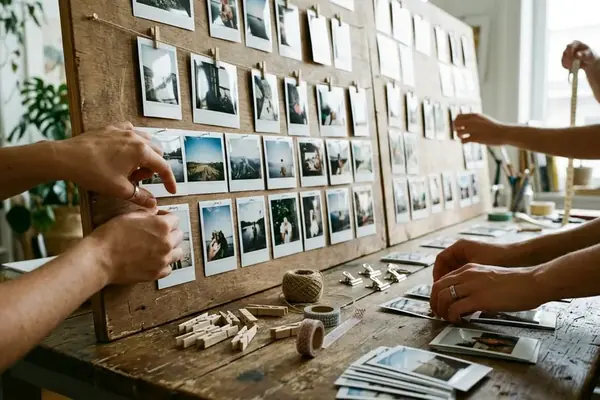
The Polaroid Progression Wall
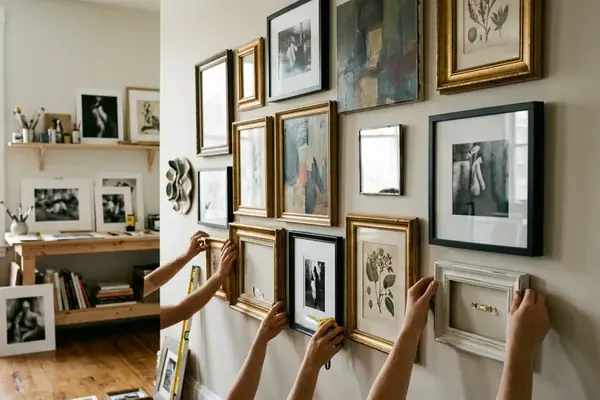
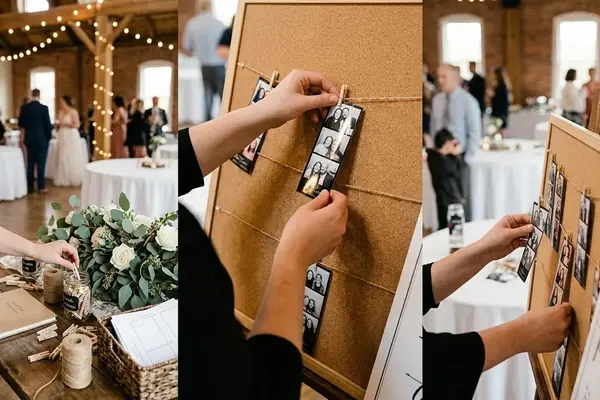
Use instant film to create a tactile, immediate record. This approach embraces the soft focus and color shifts of analog photography. Make one instant print per month and allow the full film-specific development interval. Label the month on a separate archival slip or album page. Display a duplicate or scanned reproduction if the wall receives direct sun for more than brief daily periods.
The Favorite Toy Scale Method
Place a classic stuffed animal or wooden toy beside the baby's torso. Align the toy's base to the same rug motif each month to provide a stark visual contrast of growth. Photograph for five to ten minutes. Remove small or hard props from the baby's reach immediately after capturing the image to ensure safety.
The Same-Chair Portrait Series
Utilize a specific piece of vintage furniture, like a mid-century armchair, as a consistent, textured backdrop. Mark both front chair legs on the floor. Keep the camera at a recorded distance and height. A caregiver remains within arm's reach at all times. Support a baby who cannot sit independently in a position appropriate to the child's current mobility.
The Letterboard and Blanket Classic
Use the same muted blanket, letter spacing, and board position each month. Assemble the letters ten to twenty minutes before the session begins. Keep loose characters out of the baby's hands to maintain the arrangement and prevent any hazards during the brief window of optimal cooperation.
The Film Camera Flat Lay
Use the same patterned quilt and keep the camera back parallel to the floor. Record the lens, camera height, film stock, and frame number. Expose two or three frames per monthly session to protect against blinking or motion blur. For an overhead frame, secure the camera with a strap or load-rated support. Use a remote or timed release when available. Keep a second adult beside the baby and finish the overhead sequence within a few minutes.
Moving Prints from the Storage Box to the Page
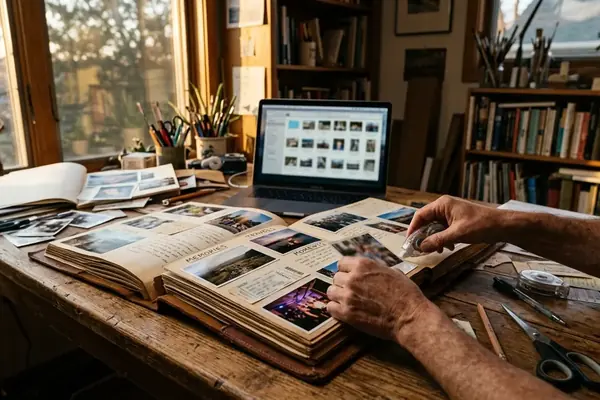
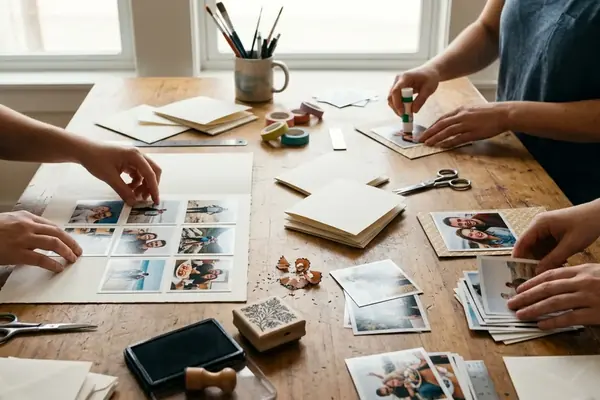
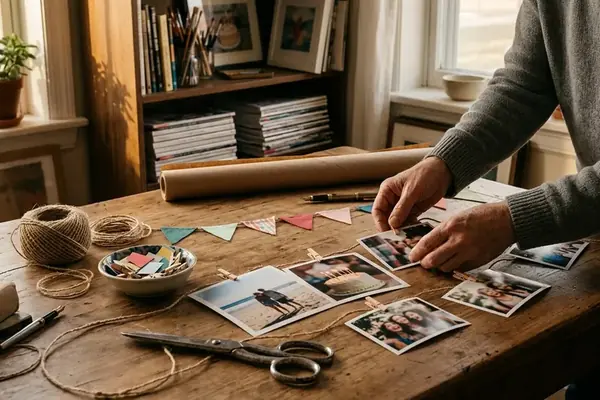
Two to seven days before the first birthday, empty the print box onto a clean table. Order the images from month one through month twelve. Check that every caption matches the correct print. Plan the pages before attaching anything. Allocate one monthly image per spread. Include a short handwritten observation and restrained scraps of patterned paper that do not hide the repeated scale reference.
Set aside an hour or two for sorting, enough time to place the twelve monthly prints in order. Verify dates against camera records or scans and draft captions on scrap paper. Use clean, dry hands and a clean work surface. Keep food, drinks, wet glue, and aerosol products away from the prints during the mounting session.
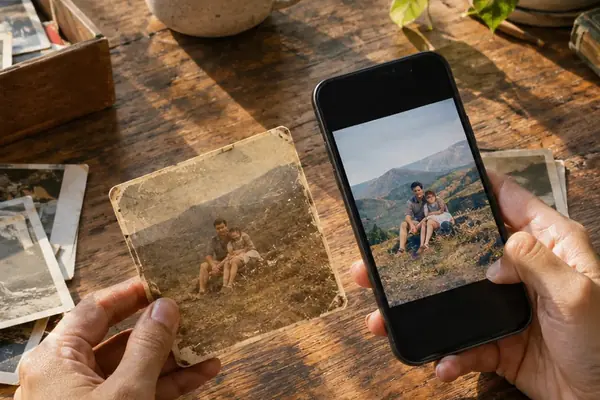
Choose an acid-free, lignin-free scrapbook with Photo Activity Test-compatible pages or enclosures. Use archival photo corners sized so they hold the print without covering important image detail. Leave the sealed border of an integral instant print intact. If a smaller image is needed, scan the original and trim the reproduction instead. Leave a small gap between the print edge and page fold so the photograph remains flat whenever the album opens. Store the completed book flat or upright with full support in a cool, dry interior room rather than an attic, basement, or sunlit shelf. Create a digital preservation copy within the first week after assembly by scanning or photographing each finished spread before the album enters regular family handling.
Sitting on the living room floor the morning of the child's first birthday, you physically turn the heavy pages of the completed album. Your fingers trace the raised edges of the photo corners and the glossy texture of the instant prints, feeling the weight of a year captured in twelve quiet frames.