Why Small Prints Vanish on Big Walls
How does a handful of vintage mini prints hold a wide, empty wall instead of disappearing into it?
The short answer is texture. Every arrangement that works anchors the small print to something physical: trailing foliage, metal wire, transparent glass, or layered twine. The support carries the visual weight the photograph cannot supply on its own, which means the image never has to be enlarged to earn its place.
The four methods below were compared on three points. First, visual impact from across the room. Second, the effort required to assemble the display without specialist tools. Third, contact with the print itself: clips, corners, and sleeves should hold the white border rather than puncture the emulsion or bond permanently to the back.
One preparatory step applies to all four. Cut paper templates at the size of the prints, tape them to the wall with painter-safe tape, and spend twenty to thirty minutes moving them around before a single hook goes in. Hardware follows the composition, not the other way around.
Prints on Skewers, Nested Among the Pothos
The most alive of the four methods treats a wall-mounted plant as both frame and background. Febe's 2016 #PolaboraDIY campaign demonstrated the principle: retro mini prints, mounted on slim supports, function beautifully as decorative plant markers. Moving that idea from a windowsill pot to a wall planter changes almost nothing about the technique.
Mount each print on its own wooden dowel or bamboo skewer. Let the attachment set fully before handling. Then insert only the bare lower end of the support into the potting mix of a wall-mounted trailing plant. Pothos and heartleaf philodendron are the reliable choices here, because their irregular, curving foliage breaks up the rigid rectangle of a vintage border.
Look closely at what the eye is actually reading in a finished cluster. The leaves supply movement, the white retro border supplies geometry, and the miniature image supplies the memory. Remove any one of the three and the arrangement flattens.
A batch of three to five markers takes roughly fifteen to twenty-five minutes to prepare, not counting whatever curing time the chosen adhesive specifies. Use one support per print, and keep contact minimal: a removable paper corner, an archival sleeve, or a low-tack fixing on the reverse.
The Soil-Line RuleEvery botanical support may enter the potting mix. No photographic paper crosses into the damp zone. Skip this method entirely on plants that are routinely misted or watered from above, since moisture cockles the paper, stains the border, and can lift dyes.
Black and Brass Grids as a Rhythm Structure
A wire wall grid solves a different problem. Scattered mini prints tend to read as clutter; the repeated horizontal and vertical lines of a grid impose a rhythm on them without imposing a rigid arrangement.
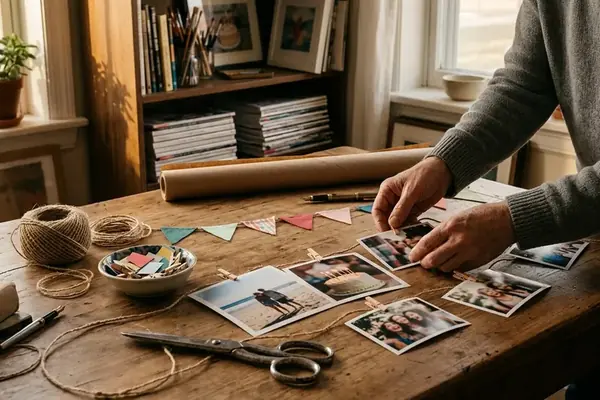
Work on a table first. Lay the prints out, shuffle them until the sequence holds together, then transfer that order to the grid using miniature binder clips or small wooden clothespins. Once the photographs are placed, fill selected gaps with lightweight ephemera: concert tickets, luggage labels, pressed and fully dried botanicals.
Deliberate emptiness matters. Leaving some cells bare stops the additions from crowding neighbouring photographs and keeps the grid legible from a distance.
Clip the BorderPosition every clip on the white margin, never across the image area. The border exists to be handled; the picture does not.
Expect twenty to forty minutes to arrange an initial set of roughly six to twelve prints. Later rotations are quick work, usually five to ten minutes, which makes the grid the natural home for seasonal swaps and recent mobile photography.
One Print, One Sheet of Glass
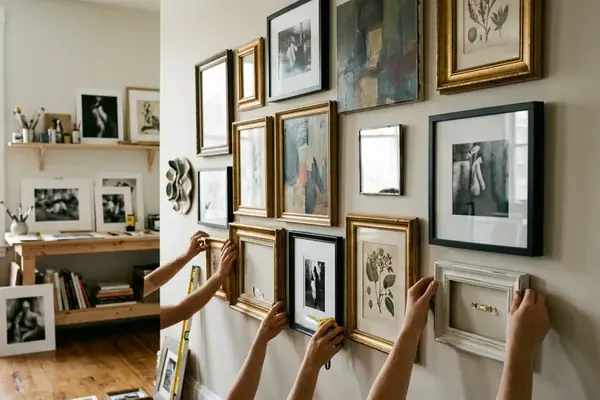
The most formal treatment gives a single mini print the whole interior of a much larger double-glass floating frame. The exposed transparent area becomes deliberate negative space, and the eye travels straight to the small subject at the centre. A casual snapshot, given that much room to breathe, starts behaving like a gallery piece.
Lay the frame flat and test the print position before committing. Secure it with reversible photo corners or a conservation-safe hinge, close the glass, then treat three to five frames of varying sizes as one composition rather than as separate objects.
Keep the spacing between frames visually consistent, and place the smallest or most detailed photograph near eye level where its subject can be read without anyone leaning in. Positioning and hanging a group of three to five frames typically takes thirty to sixty minutes once the individual prints are mounted.
Twine in Tiers, Not a Single Strand
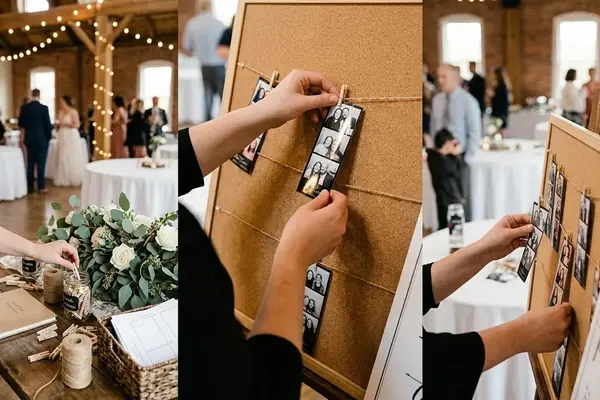
The strung garland is the oldest trick in this list, and the one most often executed badly. A lone strand crossing a wide wall reads as a leftover from a party. Dividing the same wall into two or three short tiers builds a dense focal point instead.
Mark the endpoints, hang natural jute twine with a slight controlled sag, distribute untreated wooden pegs along it, and adjust until the tiers read as one block rather than three separate lines. Stagger the prints instead of aligning every lower edge; clip only the top border; keep tension low enough that the mini prints stay flat rather than curling toward the string.
Measuring, hanging, and balancing two or three tiers takes on the order of twenty-five to forty-five minutes. Check the anchors again after a day or two, since jute settles and slack shows up overnight.
Where to Begin This Weekend
Start with the plant markers.
Grids and floating frames are handsome, and both will outlast a fashion cycle, but they hold photographs still. A wall plant moves. New growth reframes the cluster every few weeks, which gives static images a dynamic setting that no fixed hardware can reproduce, and it costs almost nothing to test.
Pick a Set of FiveChoose three to five digital memories that share one visual link: the same border colour, the same season, the same location, or the same faces. A first cluster only reads as intentional when something connects the images.
Print that small batch as vintage-style minis, mount each on its own support, and slot them into the nearest suitable trailing plant today. Live with the arrangement for a week or two, checking after every watering whether leaves have crept across a face or moisture has found the paper. If the cluster still pleases after two weeks, expand it before touching a single roll of wire.