Building a Reliable Mobile Digitization Process
How do you digitize a faded family photograph with your phone without losing its authentic vintage texture? Successful smartphone scanning relies on diffused natural light, manual perspective correction, and avoiding aggressive noise reduction. That order keeps lighting problems from being mistaken for physical damage that needs heavy digital editing.
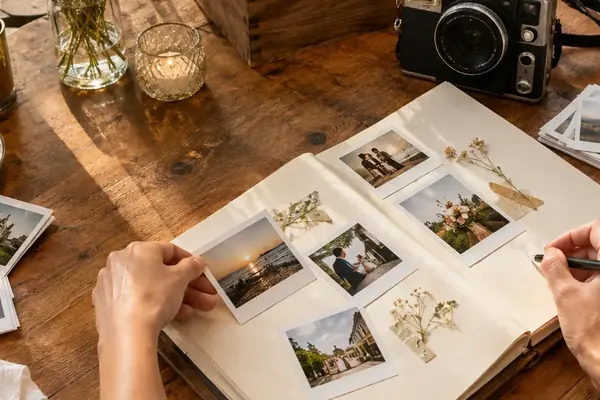
Holding a physical photograph connects us directly to the past. When preparing these images for modern print displays or incorporating them into scrapbooking layouts, the goal is accurate translation. You want to capture the exact state of the object today. The workflow has three phases: capturing the image under controlled lighting, correcting the geometry without warping the subjects, and preparing the final file for print by preserving its original grain and borders.
Allow 5 to 10 minutes to arrange the light and make a test capture before opening any editing software. Rushing the physical setup can mean frustrating digital corrections. Always keep the untouched phone capture as your permanent source file. Make all perspective adjustments and print preparations on a duplicate copy. This ensures you never permanently overwrite the raw data captured by your sensor.
The Vulnerability of Vintage Finishes
Older photographic papers possess unique surface textures that react poorly to modern indoor lighting. A high-gloss vintage finish under direct artificial light can easily reflect the light source straight back into the lens. This obscures fine detail and washes out the underlying dyes, even when the phone sensor achieves perfect focus. Check how the paper catches the light before taking the shot.
Eliminating Surface Glare with Natural Light
The physical scanning space dictates the quality of the final digital file. Place the print on a flat, matte surface directly beside a north-facing window. North-facing windows provide consistent, indirect illumination that acts like a massive studio softbox. Turn off all overhead room lights immediately. Move the print or the camera slowly until all surface reflections disappear from your screen.
Overhead light reflections are the primary enemy of retro photography digitization. They wash out faded dyes and create harsh hot spots on glossy paper. To combat this, put matte black or gray cardstock beneath the print. The stark contrast of the dark matte background makes the original edges of the photograph much easier to see when you begin cropping later.
Lighting Control Strategy: Window light controls glare effectively only when competing light sources are eliminated. Darkening the rest of the room ensures the window remains the sole source of illumination, preventing mixed color temperatures on the paper.
Aligning the Camera Sensor
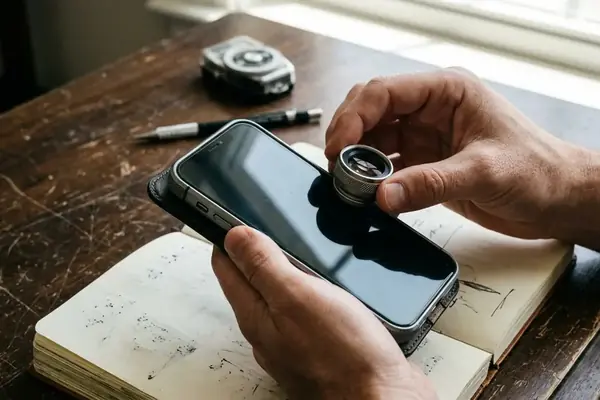
Keep the smartphone lens perfectly parallel to the physical print. This minimizes keystoning before the editing phase even begins. Check that all four print edges look straight on your screen. Opposite edges must appear similar in length. If the top edge looks wider than the bottom edge, your phone is tilted.
Rest the phone on a stable support or a basic tripod to maintain this parallel alignment. During a 1 to 2 minute test, capture a sample image and inspect it at full size. Look closely for motion blur and any reflected hot spots near the corners of the paper. Fixing alignment during capture protects the print's shape and saves significant time in post-production.
Correcting Geometry While Protecting Original Proportions
Even with a tripod, minor alignment errors occur. Use basic mobile editing tools to manually correct slight perspective skews captured during the scanning process. First, rotate the image until the print edges are perfectly level. Use the editor's manual perspective controls only for the remaining keystoning. Stop adjusting immediately if faces or the paper border begin to stretch.
Automated scanner apps present a significant risk to archival materials. These applications frequently over-crop or warp the uneven edges of thick, textured vintage paper. They are programmed to find perfect rectangles, but old photographs rarely maintain perfect geometry after decades of handling. Straightening the paper's edges must never stretch the faces or erase the worn border that identifies the original photograph.
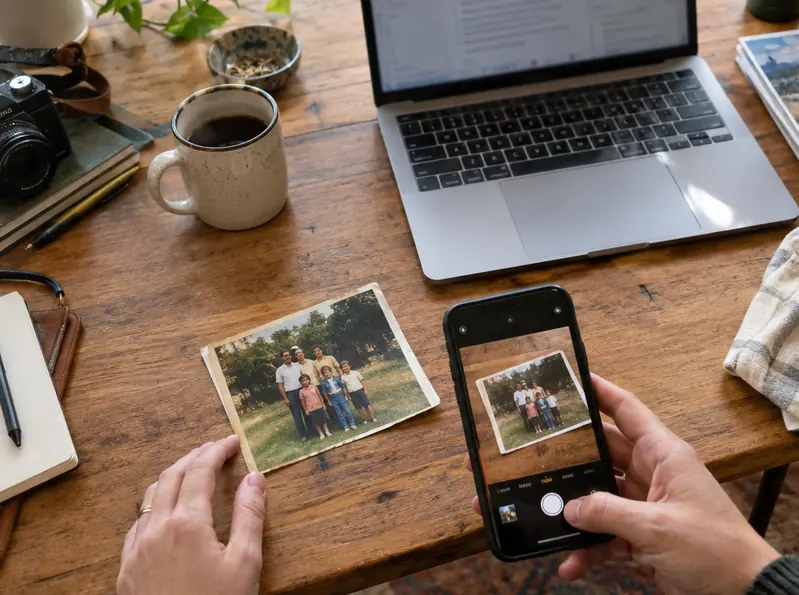
Leave a narrow margin around all four edges during capture so perspective correction does not cut into the photograph itself. Spend 2 to 5 minutes comparing the corrected digital file with the physical print in the same window light. This side-by-side comparison reveals whether your geometric adjustments have altered the reality of the image. For broader context on handling archival materials, review the guidelines for digitizing personal collections.
Navigating White Balance and Color Shifts
Adjust the white balance afterward to correct the yellowing of old paper. Compare the screen directly with the print rather than trying to guess the original colors from memory. The digital file should reflect the current state of the physical object. Save the final geometric and color correction at the device's highest available quality without overwriting the untouched capture.
Preserving Film Grain for Authentic Reproductions
The most common mistake in digitizing old photos is applying heavy noise reduction. Mobile editing software often defaults to smoothing out textured surfaces. This aggressive processing destroys the original film grain and results in a muddy, artificial reprint. Inspect the file at full size before touching any detail or sharpness controls.
Keep noise reduction low enough that the original film grain remains clearly visible. Heavy smoothing merges grain and fine detail together. Retaining physical imperfections is crucial for maintaining a genuine retro aesthetic. Ordinary dust, minor scratches, and original white borders belong in the final file when they are part of the object's historical appearance. These elements provide context and authenticity for diy projects and family archives.
Detail Preservation Rule: Restrained editing preserves the structural integrity of the image. Erasing every scratch often removes the subtle textures that make physical media visually compelling.
Managing Contrast in Faded Shadows
Lift contrast and deepen the black point gradually. Faded shadows need to regain depth, but pushing the sliders too far will crush the midtones. Check faces and clothing after each incremental change so faded midtones remain distinct and recognizable. The fabric folds in a dark suit or the subtle shadows on a face should retain their original gradients.
Compare an edited copy with the untouched capture at the exact same zoom level before ordering a physical print. This reveals exactly how much the texture has been altered. The target is a crisp reproduction of a photograph from decades ago—a faithful representation of surviving history rather than an image manipulated to look newly shot. Authentic wedding inspiration boards and historical displays rely on this honest representation of aging media.
Constructing Your Initial Capture Environment
Build the capture setup before exploring any further editing controls. Find a north-facing window that provides indirect, diffused light. Lay down a piece of matte black or gray cardstock on a flat surface directly next to the glass. Place your most faded photograph exactly in the center of the cardstock.
Turn off all overhead room lights and close any doors letting in artificial light from hallways. Hold your smartphone perfectly parallel to the print, ensuring all four borders are visible on the screen with a narrow margin of cardstock showing around them. Lock your smartphone's focus and exposure directly on the subject's face. Take one test scan. Open that test image immediately and check the face for sharpness, the paper for glare, and the borders for complete visibility before moving the camera or the print.