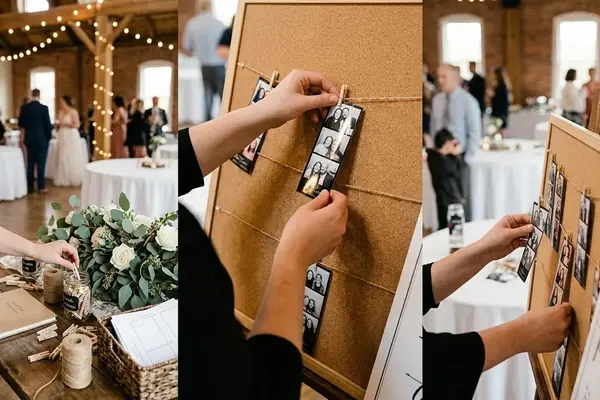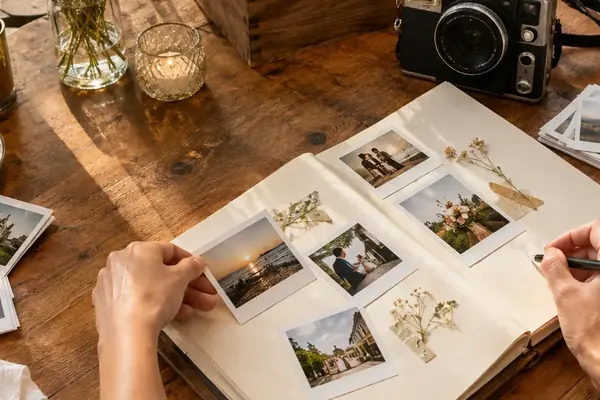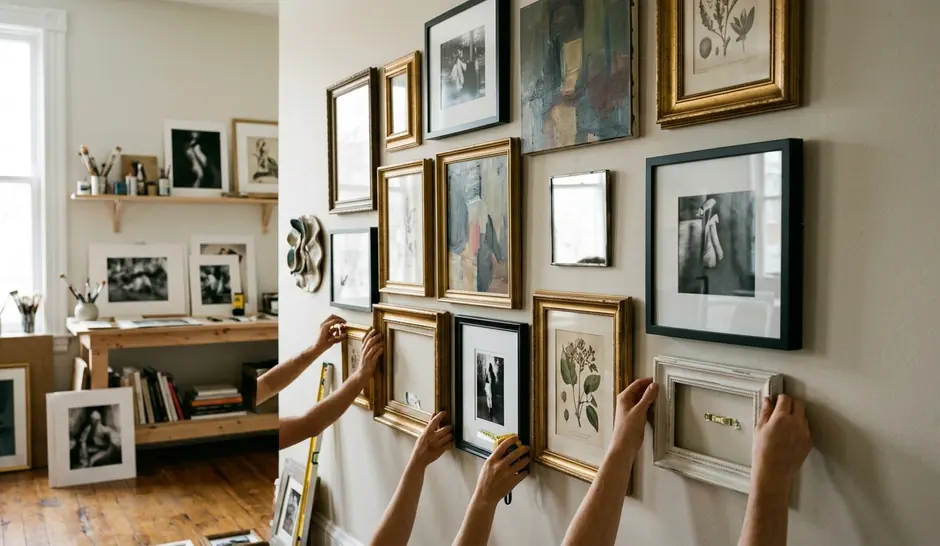
A mixed-format gallery wall fails in a predictable way. Someone collects a beautiful spread of instant prints, holiday snapshots, and one large enlargement, hangs them in a loose cloud, and the result reads as clutter rather than composition. The photographs are fine. What is missing is hierarchy, a repeated device, and a fixed measurement holding it all together.
The fix is procedural. Before a single nail goes into plaster, three decisions get locked: which photograph anchors the wall, which single element repeats across every piece, and how wide the gap between frames will be. Everything after that is arithmetic and patience.
Anchor, Unifier, Gap: The Three Fixed Decisions
Start with the size problem, because it is the one that catches people out. The familiar integral instant print is nominally 3.5 by 4.2 inches. Commonly documented sheet dimensions land at roughly 88 by 107 millimetres, or about 3.46 by 4.21 inches, which means the marketed figure is a rounded convenience rather than a cutting measurement. Any mat opening cut to the advertised number will sit slightly wrong.
Now place that print beside an 8-by-10-inch enlargement. The enlargement occupies more than five times the rectangular area. Hung as neighbours with no mediation, the small print reads as an afterthought stuck to the wall beside a proper photograph. Two remedies work: cluster several small prints so their combined footprint answers the enlargement, or give one instant print a generous mat so the framed object gains area even though the image does not.
The unifying device is the second decision, and it should be exactly one thing. Frame colour, mat colour, or photographic tone. Repeating all three produces a display so uniform that the mixed formats stop reading as a deliberate mix, while repeating none produces noise. A wall of raw oak and matte black frames holds together when every mat is the same off-white; a wall of mismatched mats holds together when every frame is black.
Balance is judged by occupied wall area, never by headcount. Four small prints in a tight block can carry the same visual mass as one medium frame. Five loosely scattered prints across the same span carry far less, because the empty wall between them belongs to the background rather than to the cluster.
Fifteen to thirty minutes spent settling the anchor, the unifier, and the gap rule saves an afternoon of rehanging. That planning session happens on paper, not on the wall.
Measure The Original, Not The Label
Instant and square retro formats are sold under rounded dimensions. Put a steel rule against the actual print before ordering mats or frames, and record the full paper size alongside the image size.
Building A Three-Size Ladder From Instant To Enlargement
Most collections arrive as a shoebox rather than a curated set, so the first task is triage. Sort every candidate photograph into three groups: small format, middle tier, and potential focal piece. Sorting by subject or chronology comes later; size governs whether the wall can work at all.
A practical ladder uses three rungs. Nominal 3.5-by-4.2-inch instant prints supply texture and intimacy. Standard 4-by-6-inch photographs bridge the gap, absorbing the jump between the tiny formats and the large one. One or two 8-by-10-inch enlargements anchor the composition. Introducing a fourth or fifth paper size rarely adds interest; it dissolves the rhythm that makes the mix legible.
Square retro prints deserve their own note. A square image printed on a bordered sheet occupies a different footprint from a borderless square of the same image dimensions, and the difference shows immediately once frames are in a row. Record both numbers during the inventory pass and label each print accordingly.
Authentic proportions matter more than they might seem. The two partners who founded Polabora in Ghent built the original print service around historically proportioned formats, treating those exact dimensions as part of the product rather than a rounding decision. Prints made to true historical sizes sit differently in a frame, and the eye registers the discrepancy even when the viewer cannot name it.
Allow twenty to forty minutes to inventory, measure, and label the candidates before ordering a single frame. Sticky notes on the back of each print carrying its exact paper dimensions will pay for themselves twice: once at the framing stage, once when a gap in the layout demands a replacement of known size.
Clustering Small Prints
Three or four instant or square prints grouped into a tight block behave as one element in the wider composition. Keep the internal spacing of a cluster identical to the spacing used everywhere else, or the block will read as a mistake rather than a unit. Clusters work best flanking the anchor or filling a vertical column beside it, where their combined mass counterweights the enlargement.
Gap Discipline And The 57-To-60-Inch Midpoint
How wide should the gaps be? Between 2 and 3 inches, measured edge to edge on the frames, held constant across the entire arrangement regardless of frame size. Measuring from the image opening or the mat edge produces gaps that vary with mat width, which is exactly the inconsistency the rule exists to prevent.
The second measurement governs height. Treat the outer boundary of every frame as the perimeter of a single artwork, find the visual midpoint of that shape, and set it between 57 and 60 inches above the finished floor. Individual frames rise and fall around that line; the composition as a whole sits at standing eye level.
This range reflects a gallery convention for walls viewed while standing, and it is worth testing rather than obeying blindly. A wall behind a sofa, a dining banquette, or a staircase run is read from a different height, and in those cases the composition centre should follow the actual sightline instead of the standard figure.
Build the arrangement on the floor, in an open area roughly matching the wall dimensions. Lay the anchor first, at the centre. Add the middle-tier 4-by-6 prints, then the small-format clusters, checking after each addition whether visual mass has drifted to one side. Step back frequently; drift is invisible from directly above.
Reserve thirty to sixty minutes for the floor layout and another twenty to forty-five minutes for tracing, labelling, and taping paper templates. Photograph the approved floor arrangement before dismantling it. That photograph becomes the reference when a template falls off the wall two days later.
One Photographic Treatment
Tonal consistency does as much work as spacing. Choose a single treatment across the set: black and white, restrained sepia, or a consistent warm cast. Open the edited files side by side and compare them before printing, because casts that look matched on separate screens frequently diverge on paper.
Mats, Thin Profiles, And When To Float A Print
Framing decisions for vintage material serve two purposes at once: presentation and preservation. A mat or archival spacer keeps the photographic emulsion off the glazing, where trapped humidity can cause the surface to stick or lift. That single component is the difference between a display and a slow accident.
Generous white or off-white matting transforms small prints. Test a nominal 3.5-by-4.2-inch instant print in a 5-by-7-inch frame, then in an 8-by-10-inch frame with a custom mat. The larger frame surrounds the image with substantially more breathing space and lifts a modest snapshot into something with presence on the wall.
Frame profiles should stay thin across the whole display, even when finishes vary. Raw wood beside matte black metal reads as intentional when both profiles are slim; the same pairing in chunky mouldings buries the delicate prints inside their own frames. Texture supplies the variety, and thickness supplies the discipline.
Float mounting suits a narrower case: prints whose deckled, distressed, handwritten, or chemically irregular edges are part of what makes them worth hanging. Floating presents the print as a physical object with visible borders, rather than cropping the evidence of its age behind a mat window. For a clean-edged modern reproduction, a conventional mat is the stronger choice.
Irreplaceable originals need acid-free, lignin-free mat board and reversible archival mounting corners or hinges. Ordinary household tape degrades, stains, and cannot be removed cleanly. Budget ten to twenty minutes per frame for measuring, cleaning the glazing, positioning the print, and sealing the backing.
Filling The Gaps And Getting Everything On The Wall
Leave the paper templates taped up for a day or two and look at the wall in different light. Empty pockets reveal themselves quickly: a corner that sags, a column that stops short, a rectangle of bare plaster that the eye keeps returning to. Measure each pocket precisely before ordering anything to fill it.
Late additions live or die on logistics. Set an ordering cutoff roughly a week to ten business days before the hanging session, and place a fill-in order only when the provider quotes both a production window and a tracked delivery window that fit inside that cutoff. Express courier services keep tight timelines workable, provided the tracking is real rather than an estimate.
Before paying, verify the final crop preview, paper size, border treatment, delivery address, transaction encryption, the accepted card or digital-wallet method, and the reprint policy. Most secure checkouts run through established card networks and payment processors; the reprint policy is the item people skip and most often need.
Installation Checklist
- Select and measure the largest anchor frame.
- Limit the display to three print or frame sizes.
- Choose one unifying frame, mat, or photographic treatment.
- Cluster three or four small vintage prints where additional visual weight is needed.
- Keep every frame-edge gap between 2 and 3 inches.
- Set the composition midpoint at the working sightline, 57 to 60 inches for a standing view.
- Trace, label, and tape a paper template for each frame.
- Hang the anchor first, then work outward by template label.
Hanging a small-to-medium wall takes somewhere between one and two hours once the templates are approved, with extra time for masonry anchors or unusually heavy glazing.
Hang The Anchor First
Every subsequent measurement references the anchor frame. Fix it, level it, and only then remove the neighbouring templates one at a time as each frame goes up.
Tonight, trace the exact outside dimensions of your largest framed photograph onto kraft paper, cut it out, and tape it to the empty wall at the height you intend to use. Live with that single rectangle for twenty-four hours. Its position determines every gap, cluster, and fill-in print that follows.