Stripping Away the Smartphone's Artificial Polish
Modern smartphones are engineered to produce images that look spectacular on glowing OLED screens. When these same files transfer to textured paper, the heavy computational processing often yields a plastic, artificial appearance. A print-worthy mobile photograph begins with deciding to shoot specifically for the physical page. That means moderate contrast, restrained sharpening, and highlights that stay recoverable. You can always add faded colors, film grain, and tonal shifts during the editing phase.
Many users start by relying on built-in portrait modes to simulate depth. A masking error along a subject's hair, a teacup handle, or a textured collar might escape notice on a small display. On a physical print, that same error forms a conspicuous halo that breaks the illusion of a vintage photograph. Bypassing these automated features yields a more authentic starting point.
Select the full 4:3 sensor frame in your camera app rather than the default screen-filling 16:9 crop when the camera offers that choice. Keep sharpening, saturation, beauty retouching, scene optimization, and automatic filter controls at neutral or off where the software permits. After adjusting these settings, capture two test frames within the first minute or three: one at the standard meter reading and one slightly darker. Inspect the highlight texture at full magnification to confirm the sensor captured the actual surface details.
Locking Down Exposure and Focus Controls
A common hurdle in mobile photography involves the camera constantly adjusting its exposure as you move. Before composing the shot, check the active settings for automatic high-dynamic-range processing, scene recognition, and enhancement filters. Disable these available controls to establish a consistent baseline. Return to the viewfinder, tap the specific subject edge that must remain sharp, and hold your finger there.
A press lasting roughly one to two seconds commonly activates an exposure-and-focus lock. Confirm this state by looking for the on-screen lock indicator rather than relying on touch duration alone. Adjust the brightness only after securing this lock so reframing the shot does not cause the phone to meter the scene again.
For a static arrangement, capture the locked frame within about five to fifteen seconds. A sudden shift in window light or a slight change in the subject's position can quickly invalidate your careful exposure decision.
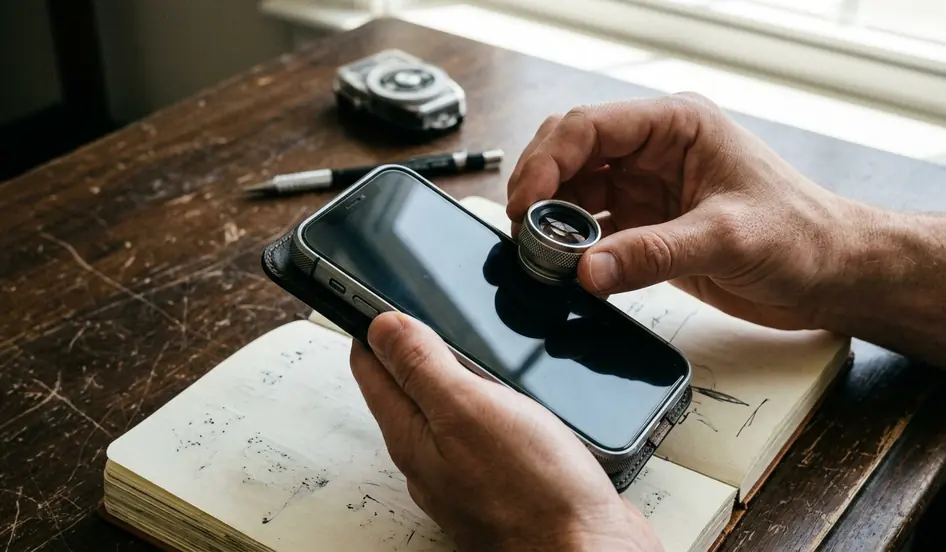
Working in dim interiors introduces the risk of motion blur. Support the phone on a shelf, a small tripod, or a stack of books. Engage a two- or three-second shutter delay to avoid touch-induced movement during the capture. Camera controls differ significantly by handset and software version. When the native app provides no switch for sharpening or noise reduction, prioritize finding even light and maintaining low sensor gain rather than assuming those processes have been disabled.
Composing for the Square Crop and White Margins
Visualizing the final physical object changes how you approach the initial capture. Choose the intended print shape before taking the photograph. When capturing in the standard 4:3 ratio, visualize the square or bordered insert inside that frame. Move backward until the subject has ample breathing room on every potential crop edge. Place the key face, mug, bouquet, or keepsake near the center so trimming for a square print does not remove the primary visual anchor.
Reserve somewhere in the ballpark of 15 to 20 percent more space around the subject than the screen composition appears to require. A square crop is governed by the shorter side of a 4:3 file. Important details located near the long edges are the first elements removed during the printing process. For a four-by-four inch image area, keep hands, faces, lettering, and object rims about a quarter inch inside the planned crop line.
Review the square preview for ten or twenty seconds before exporting the file. Inspect all four edges carefully rather than focusing solely on the centered subject. This deliberate review prevents unexpected amputations of important background elements when the image finally meets the paper.
Vintage-Print Phone Capture Check
- Set the capture ratio to 4:3.
- Disable optional HDR, scene optimization, beauty retouching, and artificial background blur.
- Use one dominant light source and remove conflicting warm or cool lamps.
- Lock focus and exposure on the brightest important texture.
Managing Highlights for Textured Media
Screens emit light, while paper only reflects it—a fundamental difference that dictates your exposure strategy. Judge the scene by its brightest meaningful surface, such as white ceramic, a pale dress, or a sunlit page. Lock the exposure on that specific area and lower it until the texture remains clearly visible. Let the nonessential shadows become dense and heavy. Keep the scene under one dominant light source. If window light serves as the main source, switch off nearby warm lamps before capture.
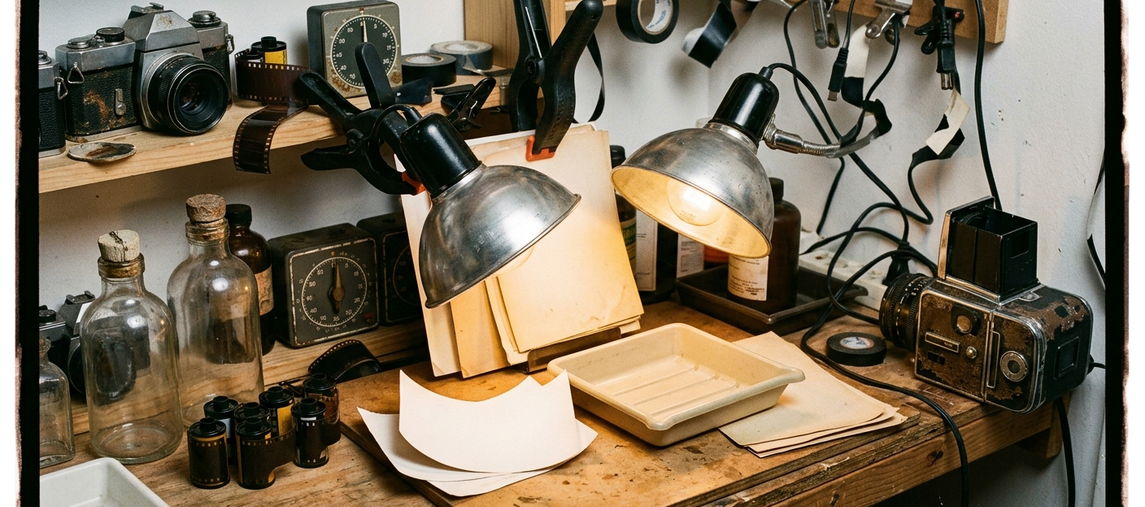
Check the highlight-warning display or the magnified preview for five to ten seconds. Look closely for blank white patches that lack surface texture. When photographing beside a window, position the setup roughly one to three feet from the glass. Use a sheer curtain or a white paper diffuser if direct sun creates hard, blown-out reflections.
The evaluation of the final image requires physical media. Evaluate a physical test print under the specific room light where it will be displayed, rather than solely under the phone screen or a bright desk lamp. In hands-on practice, an ink-based test print should rest flat for something on the order of fifteen to thirty minutes before you make fine judgments about shadow density or color balance. The paper boundary dictates the final result. No edge mask, recovered screen shadow, or mixed-light color cast should be trusted until it survives a bordered physical test print.
Executing a Window-Lit Still Life
The mug-rim sequence pulls all of this together. Set a wooden table one to three feet from a window receiving indirect morning light. Place a ceramic mug three to six inches from an open book so both objects remain visually connected without merging at their edges. Rotate the mug until a narrow highlight defines its rim without erasing the underlying ceramic texture.
Open the native camera app, set the capture ratio to 4:3, and disable any optional HDR or AI enhancement toggles. Tap and hold on the near rim of the mug for roughly one to two seconds to engage the exposure-and-focus lock. Drag the exposure control down only until texture returns to the brightest ceramic area.
Step back eight to eighteen inches from the first framing position before capturing the loose 4:3 composition. Take two or three frames over the next half minute or so: one at the locked reading, one slightly darker, and one after checking the future square crop.