Contents
- From 14,000 Files to One Story
- Three Passes from Reaction to Print
- Building the Border into the File
- Pacing Photographs Across the Page
- Writing What the File Cannot Store
- An Album That Remains Alive
From 14,000 Files to One Story
At midnight, the living room floor has become an improvised archive desk. A camera roll holds roughly 14,000 files: bursts of nearly identical expressions, repeated views of the same table, and five versions of a sunset that felt singular when it happened. Each image may carry a memory, yet together they create friction. Scrolling replaces deciding.
A meaningful scrapbook depends on ruthless curation rather than complete documentation.
The first decision concerns scope. One working album should contain a single trip, season, relationship, or theme. A summer scrapbook might follow the first warm evening, a crowded kitchen, a weekend journey, and the final outdoor meal. Those scenes form micro-narratives within a larger season. Each can move through arrival, anticipation, a revealing detail, a turning point, and a closing image.
Begin with a target of 18–30 candidate photographs. That boundary changes the task from reviewing an entire digital life to constructing one coherent chapter. Use an initial 20–30 minute session to define the story and collect the first candidates. Page design belongs to a later session; choosing typefaces and decorative paper too early interrupts judgment.
Three choices keep the process stable: select photographs according to their narrative role, prepare them for retro print aesthetics, and assemble them with materials suited to repeated handling. A scrapbook succeeds when those decisions support one another. An atmospheric vintage filter cannot rescue a weak sequence, just as careful mounting cannot supply the missing story.
Name The Chapter
Write the album subject as one precise sentence before opening the camera roll. “Our first autumn in the new flat” gives a clearer selection rule than “best photos.”
Three Passes from Reaction to Print
A common question appears immediately: should the sharpest image win? Technical quality matters at the printing stage. The opening pass has a different purpose. It identifies the photographs that still produce a response before comparison dulls that response.
Pass One: Gut Reaction
Run the first pass for 15–25 minutes. Save any frame that causes an immediate pause, smile, recognition, or pang into the dedicated working album. Avoid zooming into focus, debating minor exposure differences, or comparing every frame in a burst. The only question is whether the photograph carries emotional energy.
This phase often preserves imperfect mobile photography that a technical review would discard: a hand entering the frame, a face turning away, or a slightly blurred moment of movement. Such files may establish intimacy or momentum even when they never become the dominant image on a page.
Pause for 12–24 hours after the first pass. Distance reduces attachment to near-duplicates and restores attention for the structural decisions ahead.
Pass Two: Narrative Arc
Arrange the candidates chronologically or by scene. Then identify a beginning, middle, and end. The sequence might open with suitcases by a door, expand into a day of activity, and close with an empty platform. Another chapter may use emotional order instead, moving from anticipation through celebration to quiet aftermath.
For each scene, retain one establishing photograph, one or two human or action frames, and one detail when those roles exist. The establishing frame answers where. Human action answers what happened. The detail supplies texture: wet shoes under a bench, a handwritten place card, or crumbs beside a birthday candle.
Repeated poses and frames that add no new action leave the sequence here. A compact scrapbook chapter will often settle at 8–16 final prints. When two images serve the same role, choose the one with the clearer gesture, stronger relationship between subjects, or more useful surrounding space.
Pass Three: Print Readiness
Open only the surviving files at full size. Inspect focus around faces and hands, highlight loss in skies or pale clothing, blocked shadows, compression artifacts, and distracting objects near the crop edge. Consider whether the photograph can withstand the intended print dimensions.
Composition should be judged against physical media. A loose digital crop may work on a glowing screen because the surrounding interface disappears. On paper, every edge becomes deliberate. Images with cramped faces, clipped fingers, or important objects touching the border require careful cropping or a different print shape.
Keep One Role
When several photographs show the same moment, assign each a story role. Keep the frame that performs the role most clearly and release the rest from the scrapbook sequence.
Building the Border into the File
Print size comes before cropping. This order protects the composition from accidental changes at the printer or photo lab.
Square photographs use a 1:1 aspect ratio, a familiar choice for retro photography and grid-based print displays. Camera-shaped frames commonly use 4:3. A 4 × 6 inch print has a more elongated form and can suit landscapes, full-length portraits, and scenes containing environmental detail. During cropping, shift the frame to preserve faces, hands, signs, and small edge details that carry narrative weight.
Prepare the Pixel Dimensions
- Choose the final physical dimensions before opening the crop tool.
- At 300 pixels per inch, prepare a 4 × 4 inch file at 1200 × 1200 pixels.
- Prepare a 4 × 6 inch file at 1200 × 1800 pixels.
- Inspect the exported file at full size for sharpening halos and compression artifacts.
- Confirm that the print service receives the intended dimensions and finished crop.
The digital white border should sit inside the final print canvas. This makes the exported file a complete design rather than leaving the lab to add or trim space unpredictably. For a 4 × 4 inch retro print, a 0.20–0.25 inch border creates an even framed appearance. An instant-film-inspired layout can use roughly 0.20–0.25 inch on the top and sides, with a 0.45–0.60 inch lower margin.
That deeper lower border can hold a short date or place name, although blank space often produces a quieter and more convincing instant-film character.
Choose Paper by Handling It
Matte paper softens reflections and works well beside handwriting, ticket stubs, and layered scrapbooking materials. Luster retains some depth while controlling the hard glare associated with high-gloss finishes. Textured fine art paper can give simple photographs a tactile presence, especially when the page uses few embellishments.
Order or produce a test batch of 3–6 prints. Examine it in daylight and indoor light for 24–48 hours before committing to the full run. Look at shadow separation, skin tones, border consistency, and the way the paper feels when lifted from a table.
Long-term stability depends on the complete material stack: the crop canvas, digital border, ink and paper pairing, adhesive, album enclosure, light, and humidity. An acid-free label by itself does not establish image permanence. Pair pigment-based or preservation-rated photo inks with acid-free, lignin-free paper and photo-safe album materials. The Library of Congress also provides care guidance for archival-quality paper and inks.
Test Before Multiples
A small print batch reveals color shifts, weak crops, and distracting border differences while corrections remain inexpensive and manageable.
Pacing Photographs Across the Page
The selected prints should first be placed loose on facing pages. Adhesive stays capped while the maker tests sequence, spacing, and visual weight.
A practical assembly kit is compact: a heavy-page scrapbook, an acid-free tape runner, traditional paper photo corners, archival paper, and a clean weight for flattening suitable ephemera. Tape runners hold flat prints securely. Photo corners allow a print to be removed later without disturbing the page beneath it. When using adhesive, keep it at least a few millimetres inside the print edge so exposed tack cannot collect dust or catch the facing page.
Alternate Density and Rest
Dense spreads suit movement. Arrival, street scenes, preparation, and group interaction can occupy roughly 4–7 small photographs across facing pages. The next page should slow the rhythm with 1–2 images: a portrait, a quiet room, or a detail that deserves sustained attention.
Leave at least 0.25 inch between separate items. White borders need visible separation to retain their shape; when they touch, several prints can collapse into one busy block. Open space also makes the sequence easier to read from left to right.
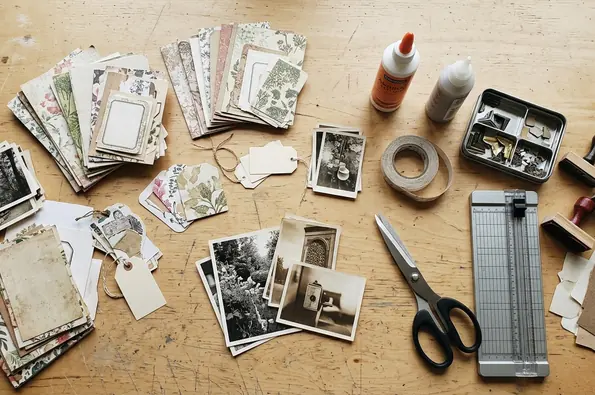
Physical ephemera bridges the distance between digital files and lived experience. A ticket stub can establish place. Pressed leaves recall a walk more directly than a decorative sticker, and a handwritten note introduces the pressure and irregularity of the original hand. These objects function as evidence, so embellishments should enter only after the photographs and contextual pieces have found their positions.
Flatten clean, fully dry paper ephemera under archival tissue and a book weight for 24–72 hours before mounting. Metal clips, thermal receipts, and materials carrying unknown adhesives should remain isolated from direct contact with photographs. Raised objects also require care: close the album without pressure that could emboss or abrade the facing page.
Dry-fit one 45–90 minute assembly session at a time, then review the spread after a 12–24 hour pause. Fresh attention quickly detects a tilted border, an overcrowded corner, or a sequence that moves too abruptly.
Writing What the File Cannot Store
Digital metadata supplies a factual scaffold. Time, date, and location can establish when and where a photograph originated. The human context must be written separately.
Once the sequence is fixed, draft one or two sentences for each spread. Begin with details unavailable to the camera:
- What could everyone hear?
- What did the place smell like?
- What had happened immediately before the shutter opened?
- Which repeated joke needs an explanation?
- What was the weather doing?
- Why did a particular glance or gesture matter?
A caption such as “Saturday, Brighton” records an index point. “Rain struck the café awning while everyone tried to remember the same song lyric” restores the atmosphere. Both forms have value, and together they create a record that can be understood beyond the people who were present.
Record fragile sensory details within 24–72 hours of selecting the story. Names, dates, and spellings should then be checked against original file metadata or messages before the permanent caption is written.
Short facts can go directly onto the scrapbook paper with a pigment-ink archival pen. Longer recollections work well on small tags tucked behind photographs, where they remain available without overwhelming the page. Test the pen on a scrap of the album paper, allow it to dry for 5–10 minutes, and check for feathering, smearing, and show-through.
Preserve The Atmosphere
Dates make a scrapbook searchable. Sounds, smells, phrases, and weather make the same scrapbook memorable.
An Album That Remains Alive
After assembly, leave the album flat and closed for 24–48 hours so freshly mounted pages can settle. Keep the finished book away from direct sunlight and persistent humidity. The original image files and final print exports should remain in at least two separate storage locations; the physical scrapbook and digital archive serve complementary purposes.
A review every 6–12 months can catch lifting adhesive, transferred ink, page distortion, or signs of damp storage before damage spreads. This inspection is brief: turn each page gently, look along the print edges, and confirm that raised objects have left no pressure marks.
The album remains editable in a controlled way. Photo corners allow a print to be removed for rescanning. Tucked tags can accept a corrected spelling or a newly remembered sentence. A future chapter can continue the same print dimensions and border system, giving separate volumes a shared visual language.
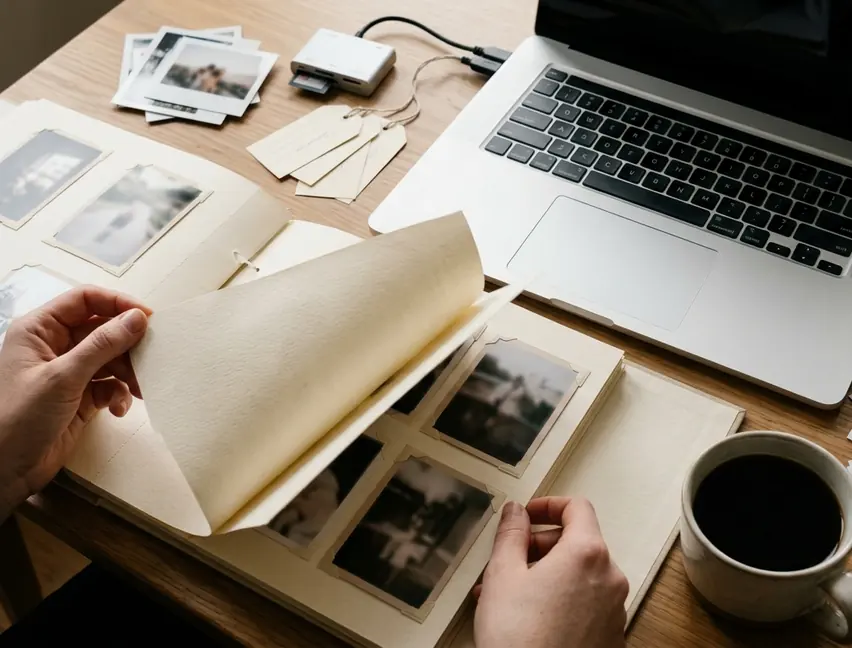
On a quiet Sunday morning, a cup of black coffee rests on a wooden table while a friend opens the finished album. One heavy page turns with the soft rasp of textured paper. The sequence pauses at a handwritten joke, then opens onto a single matte photograph surrounded by white border and generous space. The friend touches the edge of the page, reads the caption twice, and slowly turns to the next chapter.