The Verdict on Wedding Memories
What happens to the hundreds of photographs guests upload to a shared digital wedding folder?
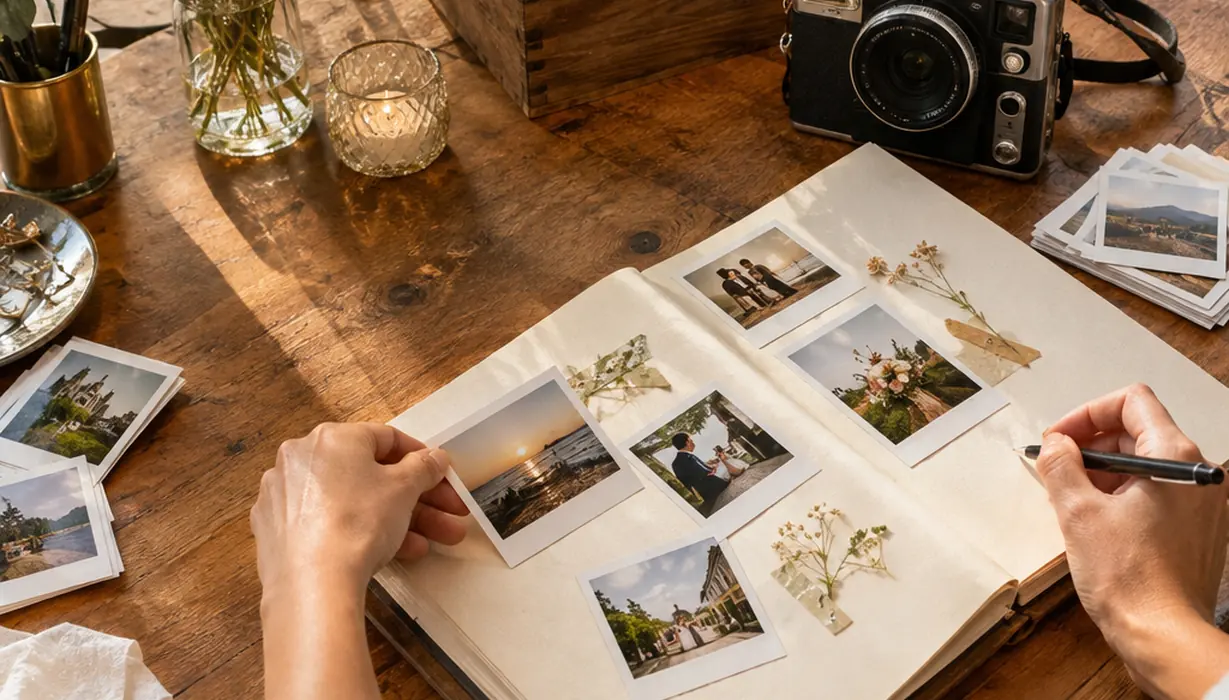
Most accumulate during the reception, then wait for someone to reopen the link, download the originals, remove duplicates, and decide which moments matter. Without that session, the gallery becomes digital dust. A retro-print guestbook makes the decision while the celebration is still happening: one selected frame, one place on the page, and one handwritten message from each guest, couple, or household.
A Keepsake That Opens Immediately
The difference becomes clear the morning after the wedding. A bound guestbook opens without a password, compatible app, network connection, active account, or functioning QR destination. Its pages have already turned a stream of exposures into a small, deliberate edit.
A shared folder can still collect mobile photography from around the room. Export those originals within a few days, then complete the first cull within a week or two. That gives the digital files a defined purpose instead of leaving the couple with another unresolved sorting job.
Choose One Frame
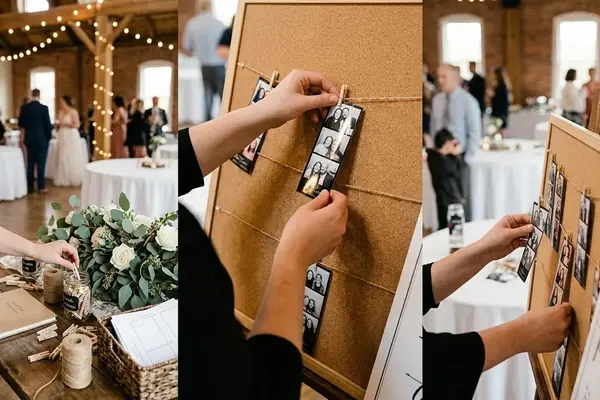
Ask each household to mount a single photograph. Scarcity creates attention, and the resulting book remains readable.
The Friction of Digital Galleries
A QR code looks effortless on a planning spreadsheet. From a guest’s side, it involves unlocking a phone, opening the camera, resolving the code, loading a page, accepting permissions, selecting files, and waiting for the upload. Every step competes with dinner, conversation, speeches, and dancing.
Collection Still Needs an Editor
Guests often contribute a few dim frames, near-duplicates, screenshots, or accidental videos and never return. The upload pile records volume; it supplies no hierarchy. Even strong photographs lose emotional weight when they sit among dozens of almost identical files.
Scrolling also shifts attention away from the reception itself. The physical station keeps the activity in the room, where people can gather around a developing print and add to the same object.
If a digital gallery remains part of the plan, test its QR code at the final print size from something like 30–60 centimetres away under the actual reception lighting. Check it on both major mobile operating-system families in the days before the wedding. Use one short instruction, then schedule a brief review within a week to remove duplicates and download originals.
Building an Instant-Print Station Guests Can Use
The camera format should follow the expected group size. Mini integral film, with an image area near 62 by 46 millimetres, suits individual portraits and pairs. Wide integral film offers an image area near 62 by 99 millimetres, giving families and groups substantially more horizontal room.

Plan the Table Around the Film
- Count one exposure for each guest, couple, or household expected to contribute. Add a modest cartridge reserve for closed eyes, loading errors, and lighting tests, using the exposure count printed on the film pack.
- Mark a subject position approximately 1–2 metres from the camera, while keeping faces inside the focus range stated in its manual.
- Make somewhere around 3–5 test exposures under the final lighting arrangement.
- Post three instructions: take one frame, leave the print at the mounting area, and write a message while it develops.
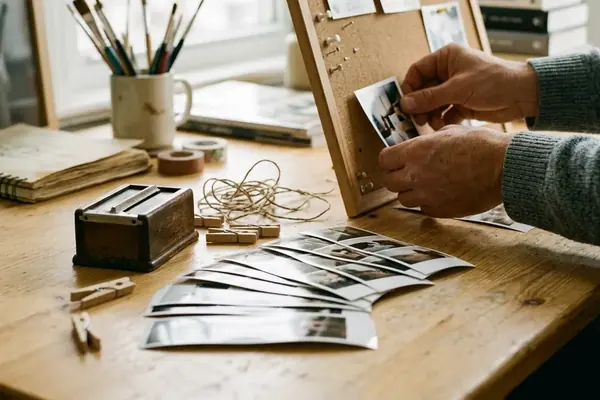
- Place each print on a flat, shaded surface for several minutes before mounting. Shaking, squeezing, bending, or stacking a fresh print can interfere with stabilization.
A dedicated attendant changes the rhythm of the station. This person can check lighting and film supply regularly, reload cartridges, and stop duplicate photographs from disappearing into pockets.
An unattended setup is a poor match for very dim rooms, temperatures outside the film maker’s operating range, or celebrations dominated by large groups. Those conditions need controlled light and a designated operator—small interventions that prevent an appealing table from becoming an expensive prop.
Why Handwriting Gives Each Print Its Meaning
The photograph preserves faces, clothing, and the mood of the room. The note beside it records names, relationships, private jokes, and wishes that the image cannot explain. Years later, that pairing gives the page its emotional precision.
Paper, Ink, and Border-Safe Mounting
Start with lignin-free, acid-free pages around 200–300 grams per square metre. That weight supports an instant print without making the leaf collapse and reduces the chance of marker ink showing through. Metallic pigment markers work well on dark scrapbooking paper, though they should be tested on a spare page a few days before the reception. Allow fresh writing a minute or two to dry before turning or closing the page.
Mount each photograph by its border with photo corners or an acid-free product that has passed a photographic-activity test. The acid-free label alone does not establish long-term compatibility with photographic materials. Standard pressure-sensitive tape may yellow, harden, ooze at the edges, or transfer adhesive into paper and photographic layers, making later removal risky.
Protect the Emulsion
Keep adhesive away from the image area. A border-mounted print can be removed with far less risk if the album ever needs repair.
Preserving Instant Film Beyond the Reception
A finished guestbook needs two forms of care. The physical original requires protection from light, heat, moisture, abrasion, and adhesive fumes. A separate digital copy protects the singular book from loss.
Close the Album, Then Scan It
Wait at least a day or two before scanning or tightly sleeving newly made integral-film prints. Once the materials have stabilized, scan completed spreads at 600 pixels per inch, retain a lossless master, and keep copies on at least two separate devices, with one in another physical location.
Check shared links and local backup files every 12 months, give or take. Migrate files when a service closes, an account changes, or current devices can no longer open the format. The National Archives’ guidelines for preserving photographic materials also emphasize controlling the storage environment around family photographs.
Store the book closed, upright or flat, in a dry interior cupboard away from sunlight, radiators, exterior-wall condensation, and adhesive fumes. That closed album sharply reduces ultraviolet exposure and slows dye fading; beside it, a 600-pixel-per-inch lossless scan preserves every finished spread after the original QR destination has vanished.