Three Places Where Photo Strips Belong
How can four-frame photo strips feel elegant instead of cluttered? Start by counting the moments when guests already pause: finding a seat, identifying a table, and leaving a message. Those three touchpoints give the photographs a job rather than treating them as loose decoration.
The strongest reception plan chooses one dominant display. An escort-card wall can carry the visual weight, while table numbers and the guest book repeat its materials more quietly. A common four-frame strip measures approximately 2 by 6 inches, though the finished batch should always be measured before anyone orders frames, clips, or a wire grid.
Match the Hardware to the Room
Brass clips suit a vintage ballroom or candlelit dinner. Unfinished wood and twine sit naturally beside rustic florals. A clean metal grid works with sharper typography and geometric centerpieces. Consistency matters more than using the same construction at every station.
Mock Up the View
Build one tabletop sample 14–21 days before the reception. Photograph it from 6–10 feet away, then check whether names and table numbers remain readable. A strip can look charming at arm’s length and turn into visual static from the entrance.
This hierarchy keeps retro photography present without asking every surface to compete for attention.
Turn Vintage Strips Into Escort Cards
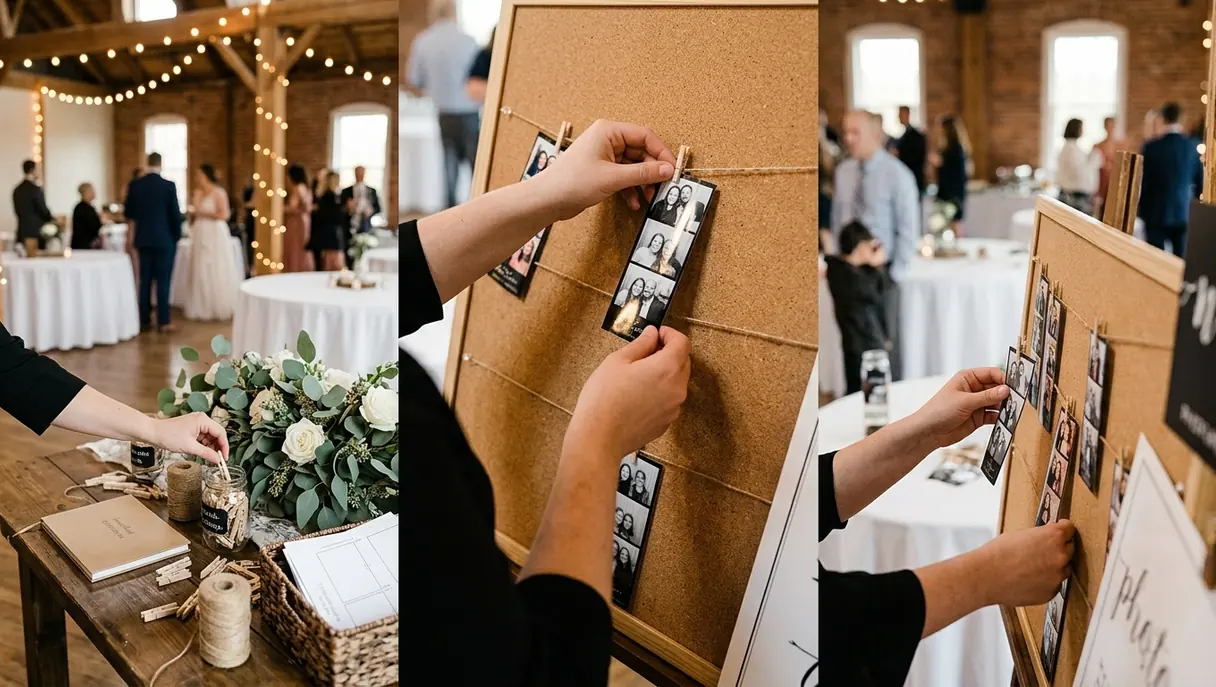
An escort-card wall gives pre-printed photographs a clear purpose. Prepare one strip for each guest, couple, or household, then place the name and table assignment on a separate paper band. When a seating change arrives, the band can be replaced without reprinting the photograph.
Build a Display the Venue Can Accept
Many venues restrict tape, nails, and removable adhesive on finished walls. Freestanding structures avoid that conflict. A copper-pipe frame brings a warm metallic line to the room; a wooden A-frame feels softer; a wire grid creates the lightest visual footprint.
For a guest list in the ballpark of 100 household or couple assignments using 2-by-6-inch strips, a grid approximately 36–48 inches wide can accommodate four to six columns when every strip receives at least 3 inches of horizontal space. Arrange the assignments alphabetically. Guests scan names faster than they scan table numbers, especially when several people reach the display together.
Choose One Deliberate Fastener
Mini wooden clothespins complement an A-frame. Brass clips sharpen a copper or wire structure. Custom wax seals can finish a paper band, provided the strip remains easy to remove. The attachment should hold each print flat and let guests take it without tugging neighboring cards loose.
Print and alphabetize the first complete set 7–10 days before the reception. Keep blank assignment bands and 5–10 spare strips ready for changes made during the final 24–72 hours.
Keep Names Flexible
Print seating details on replaceable bands rather than directly on the photographs. The strip remains a keepsake even if the seating plan changes.
Use Photo Strips as Quiet Centerpiece Accents
At the table, the photograph should reward a closer look. The table number still needs to do the immediate work.
Frame the Strip Vertically
Place two strips back to back inside a double-sided geometric glass frame so guests on both sides can see an image. For a more collected, nostalgic look, set one strip in a clean, dry vintage apothecary bottle with a card holder fitted at the neck. Keep photographs away from water-filled floral vessels.
Typography balances the image. Use larger, simpler type for the table number than for any caption printed on the strip. Guests should read the number first and discover the photographs second.
Protect Conversation Across the Table
For a low centerpiece, keep the top of the framed strip at or below roughly 12 inches. Perform a seated sightline check across the actual 48-, 60-, or 72-inch table size before approving the arrangement.
Assemble one complete centerpiece 10–14 days before the reception and leave it standing for 2–4 hours. Watch for frame movement, glare, curling paper, and accidental contact with floral water. This test often settles the choice between a broad glass frame and the narrower profile of an apothecary bottle.
Build a Guest Book That Keeps Moving
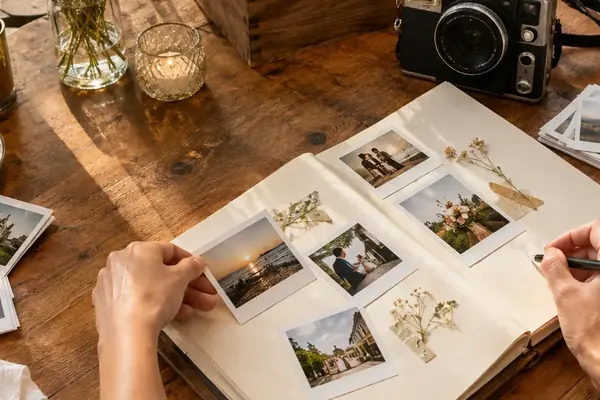
The most inviting instant-print guest book follows the natural path out of the photobooth. Guests collect a strip, reach an open album, attach the photograph, and write while the moment is still fresh.
Show the Next Step
Open a linen-bound album to the next unused spread and display one completed example beside it. The sample should show where the strip belongs and how much room to leave for a message. Allow one page per strip, or one two-page spread for two strips plus handwriting. For something on the order of 120 expected guest groups, an album with at least 120 usable pages prevents crowded layouts.
Use archival photo corners or acid-free double-sided tape. Photo corners preserve the option to remove a strip later; tape creates a faster station when guest flow matters more. Stock at least two adhesive applicators so one empty dispenser does not halt the line.
Test Ink on the Real Surfaces
Glossy photo paper can hold wet ink long enough for a sleeve or hand to smear it. Test each marker on a spare print and album page 24–48 hours beforehand. Record the actual drying time, then select a quick-drying, acid-free marker that resists smearing after 10–20 seconds on those tested surfaces.
Place three to four markers at the station. An attendant can inspect supplies every 20–30 minutes during the first 2 hours, advance the album to a clean spread, and remove loose backing paper before it spreads across the table.
Guide the Guest Flow
Put the album downstream from the booth, with adhesive first and markers second. That simple order prevents guests from balancing wet photographs while searching for supplies.
Build a Suspended Eucalyptus Photo Chandelier
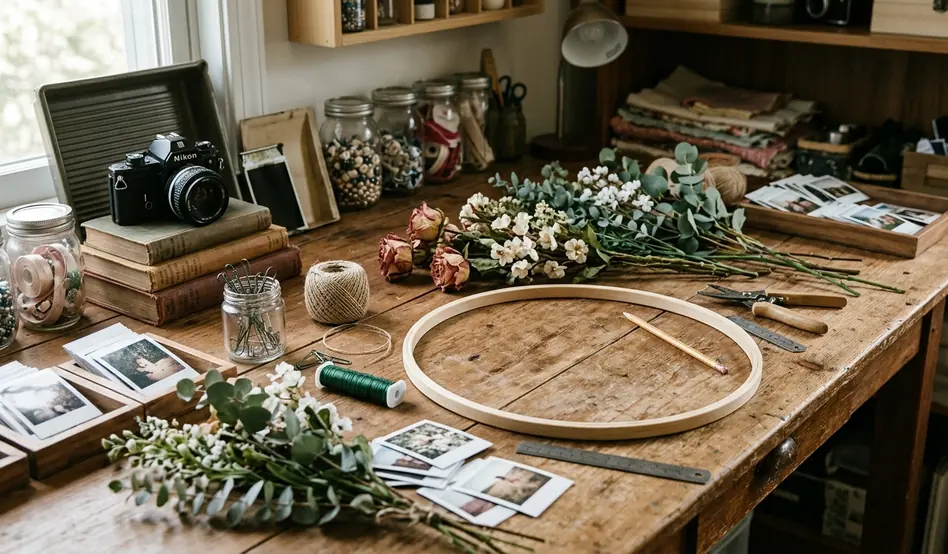
A hanging installation gives the four-frame format enough air to feel intentional. The following build uses one 24-inch brass floral hoop above a sweetheart table or dessert bar, with staggered strips floating beneath eucalyptus.
Gather the Complete Build
- One 24-inch brass floral hoop
- Clear monofilament rated above the combined decorative load
- Four to six lightweight eucalyptus branches
- Floral wire
- Twelve to twenty small binder clips
- Twelve to twenty photo strips
- Two independent hanging lines
- Scissors and wire cutters
Confirm the Rigging
Keep the hoop out of the decorating schedule until the venue or its approved rigger identifies the permitted attachment point, maximum decorative load, required safety cable, and clearance above occupied tables. A ceiling hook’s appearance provides no evidence of its carrying capacity.
Assemble and Balance the Hoop
- Lay the hoop flat and mark four equal quadrants. Wrap one lightweight eucalyptus section at a time with floral wire, rotating the hoop after every quadrant so the foliage weight stays even.
- Cut monofilament into three ranges: 12–16 inches, 18–22 inches, and 24–30 inches. These lengths create staggered rows without forcing the strips into one dense curtain.
- Attach one small binder clip to each line and add a photo strip. Space neighboring prints roughly 2–3 inches apart.
- Tie the lines to the hoop in opposite pairs. After adding a strip on one side, place the next at the opposing point. Lift the hoop after each pair and correct any tilt before continuing.
- Add the two independent hanging lines and any required safety line. Suspend-test the fully dressed hoop for 30–60 minutes with every photograph attached.
Copy This Installation Schedule
For a reception opening to guests at 6 p.m., assemble the decorated hoop 3–7 days beforehand and complete the full suspended-weight test then. On the wedding day, begin installation at 3:30 p.m., which provides the full 150-minute setup window. The approved rigger secures the two hanging lines and required safety cable; the decorating team checks clearance above the table, separates any touching strips, and views the hoop from the room entrance. At 6 p.m., the finished piece presents 12–20 photographs in three balanced tiers, ready above the sweetheart table without blocking the celebration below.